

iOS - Opening Account
Below are the real steps to enroll in the Apple Developer Program as a company. Currently, Apple sends you to finish enrollment through the Apple Developer app (on iPhone, iPad or Mac), where identity verification also happens.
This is how the process looked at the start of 2026. The exact look of the screens may change a bit over time, but the steps and the logic will be similar, use this guide as orientation, not literally.
Apple always uses phone number authentication (Phone Number Auth). You'll receive a lot of SMS codes, both during enrollment and on every login. That's exactly why it's worth having a business phone number (with an eSIM or a separate SIM), not your personal one, see the business phone number.
The accounts you'll use: your Apple ID is managed at account.apple.com, enrollment starts at developer.apple.com/programs/enroll, and after approval you manage everything in App Store Connect. Apple's official guide for enrolling via the app: Enrolling with the Apple Developer app.
Before you start: an Apple ID with 2FA enabled, your correct legal details (name, address, phone), and for an organisation: a D-U-N-S, the company's legal name, address and a public website on the company domain. Use the same device throughout the process.
The enrollment steps
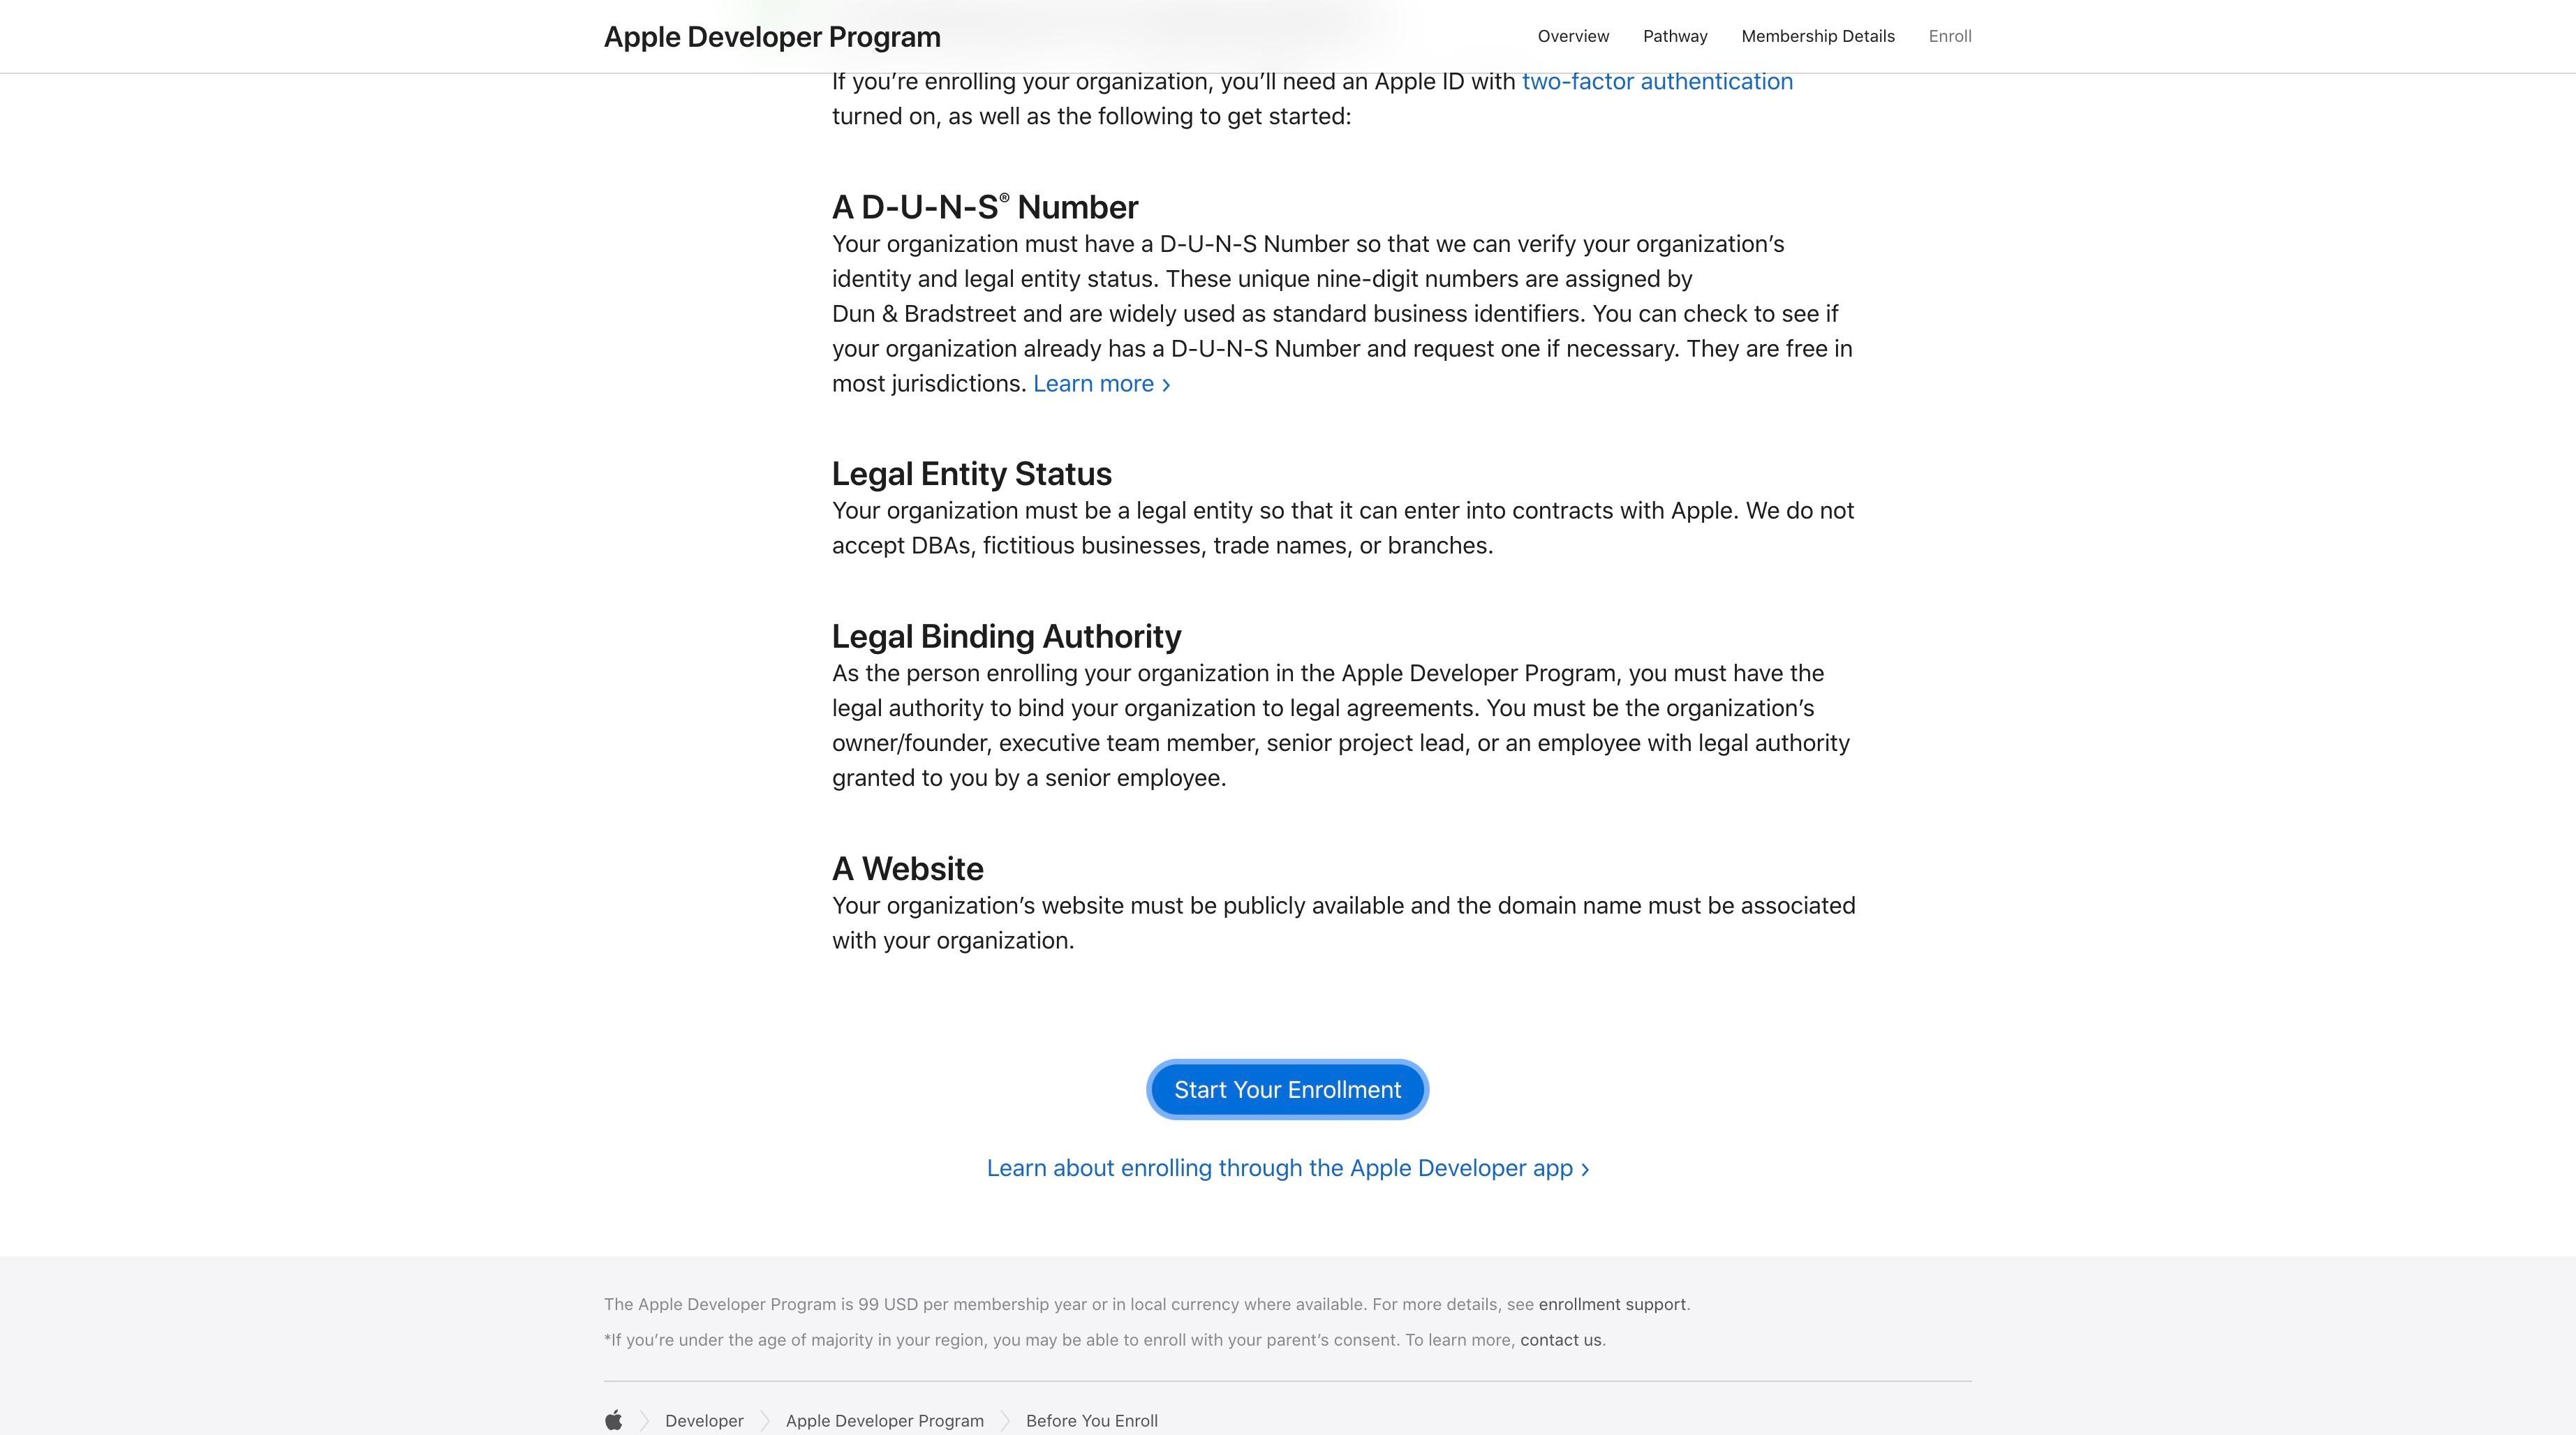
1. Start enrollment. Go to developer.apple.com/programs/enroll, review the requirements (D-U-N-S, legal entity status, signing authority, website) and tap Start Your Enrollment.
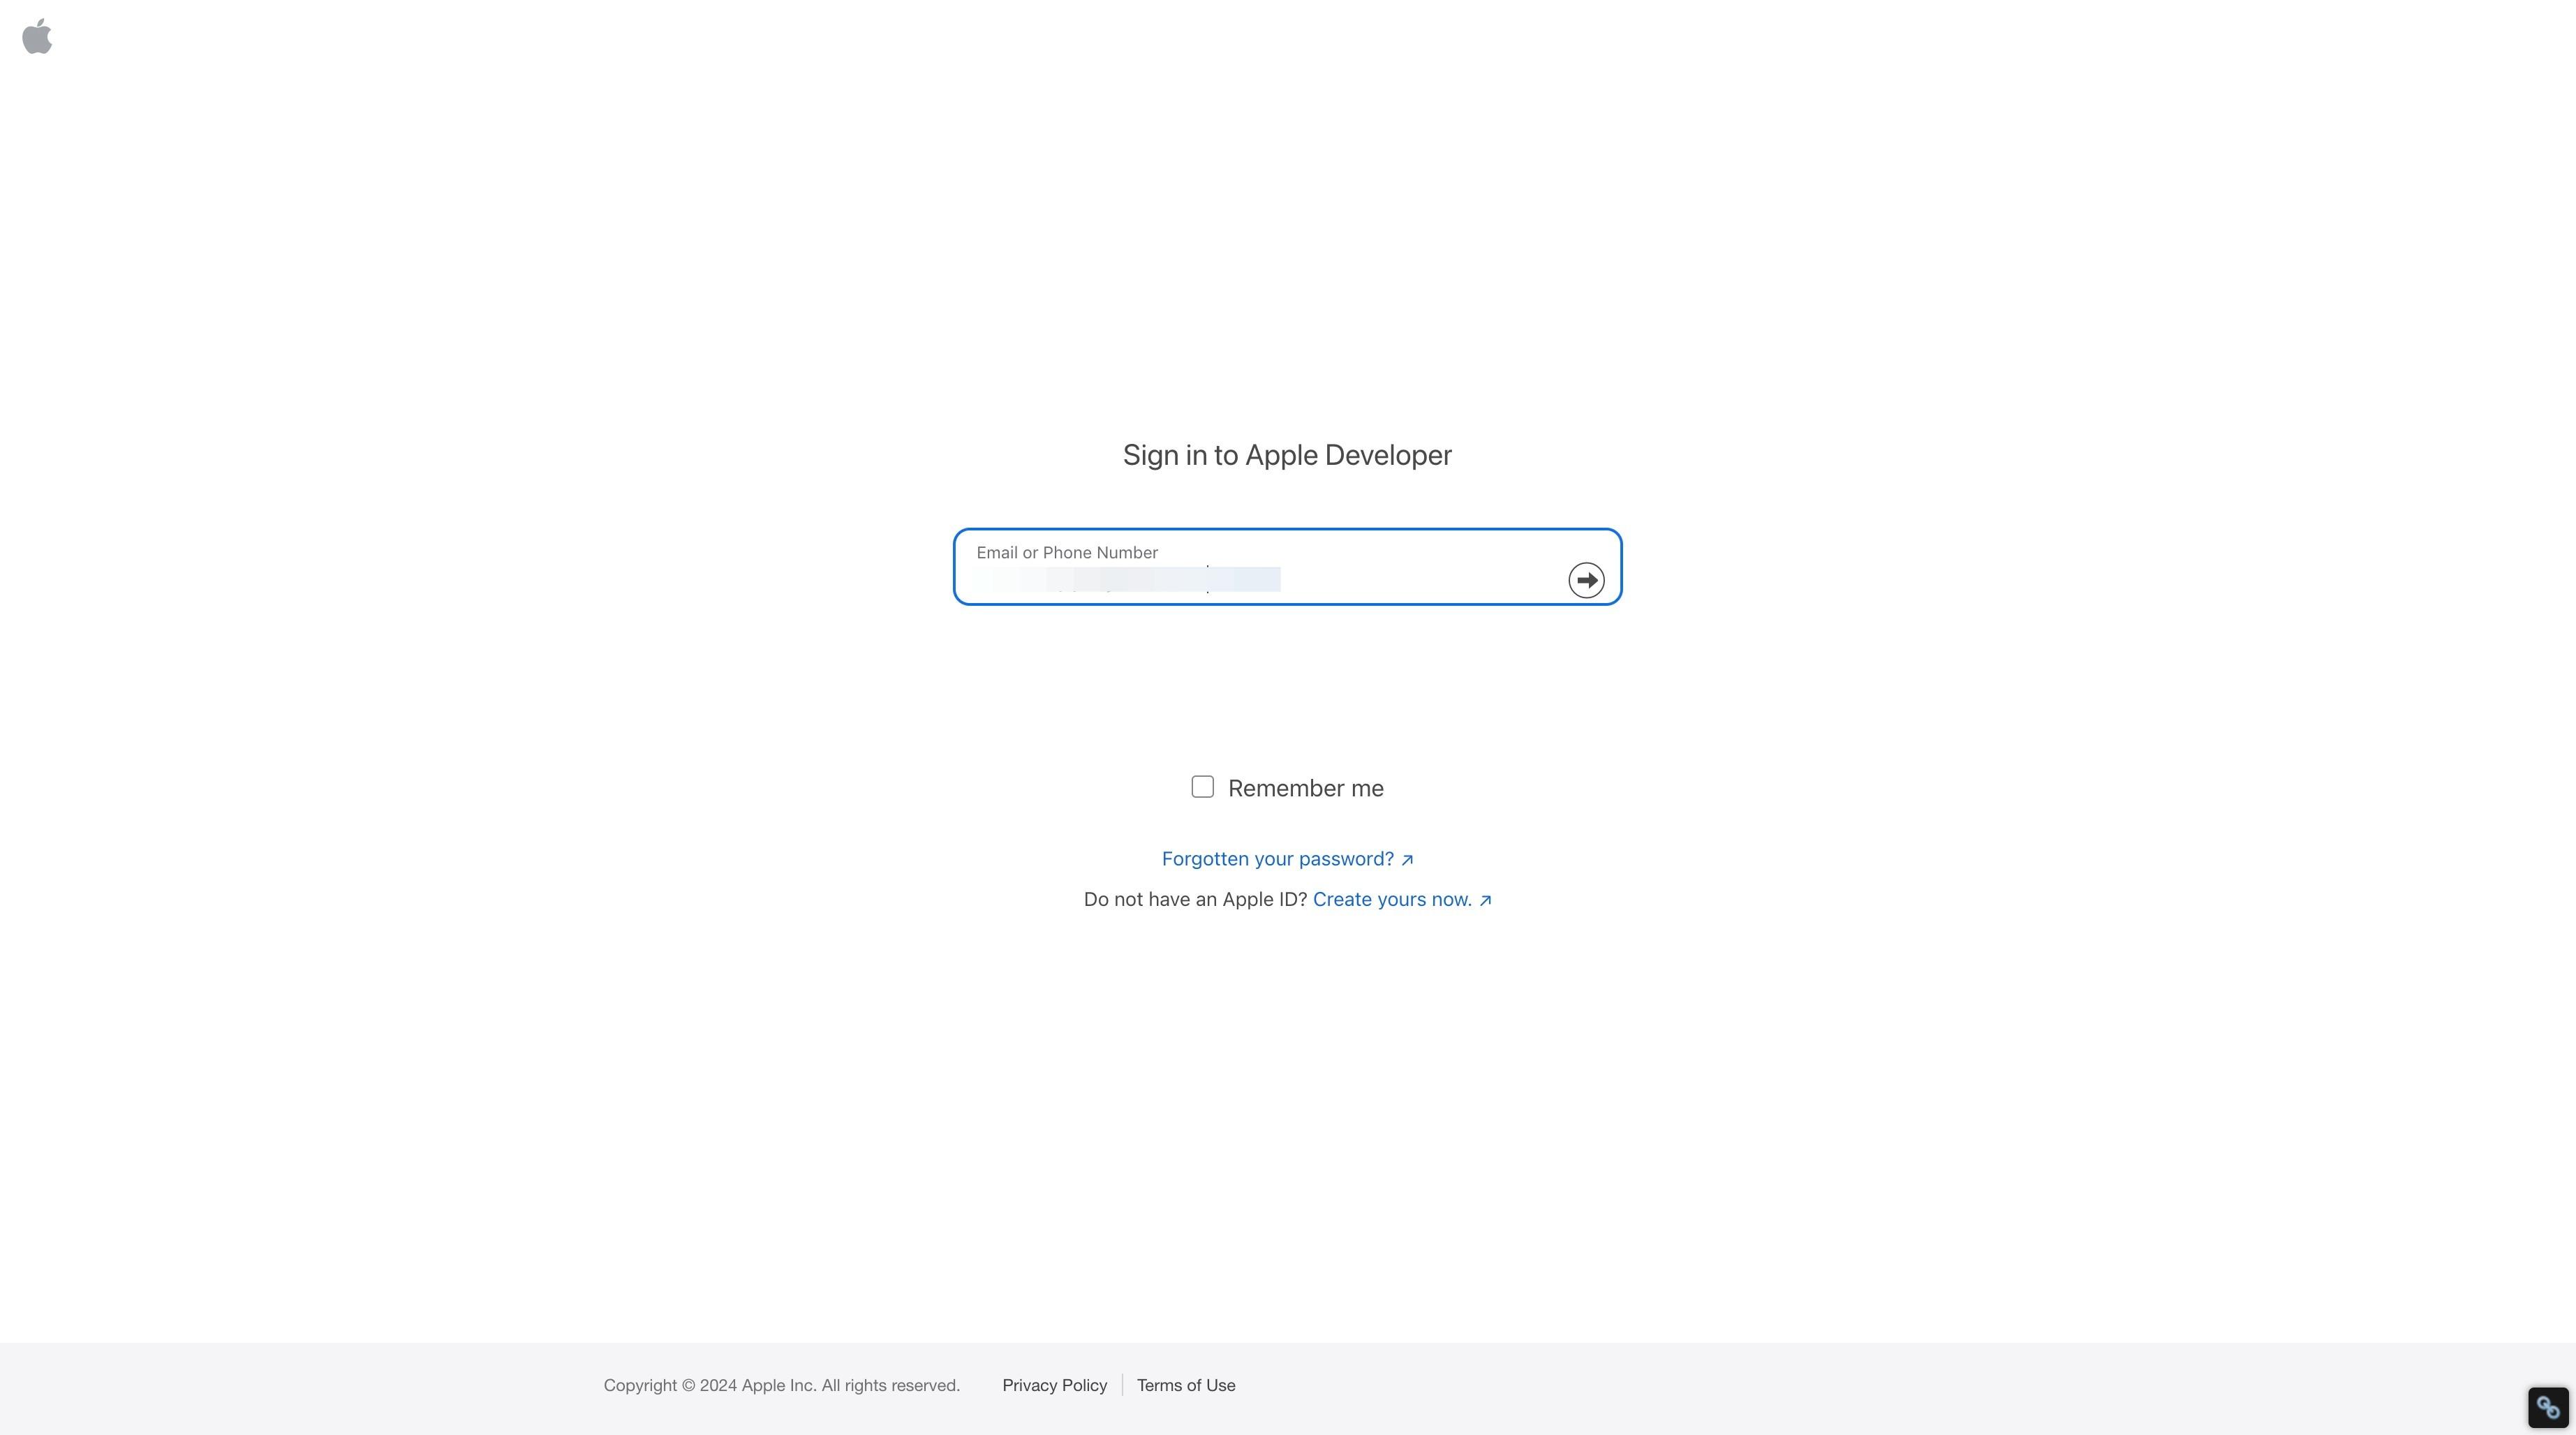
2. Sign in. Log in with the company's Apple ID (with 2FA on).
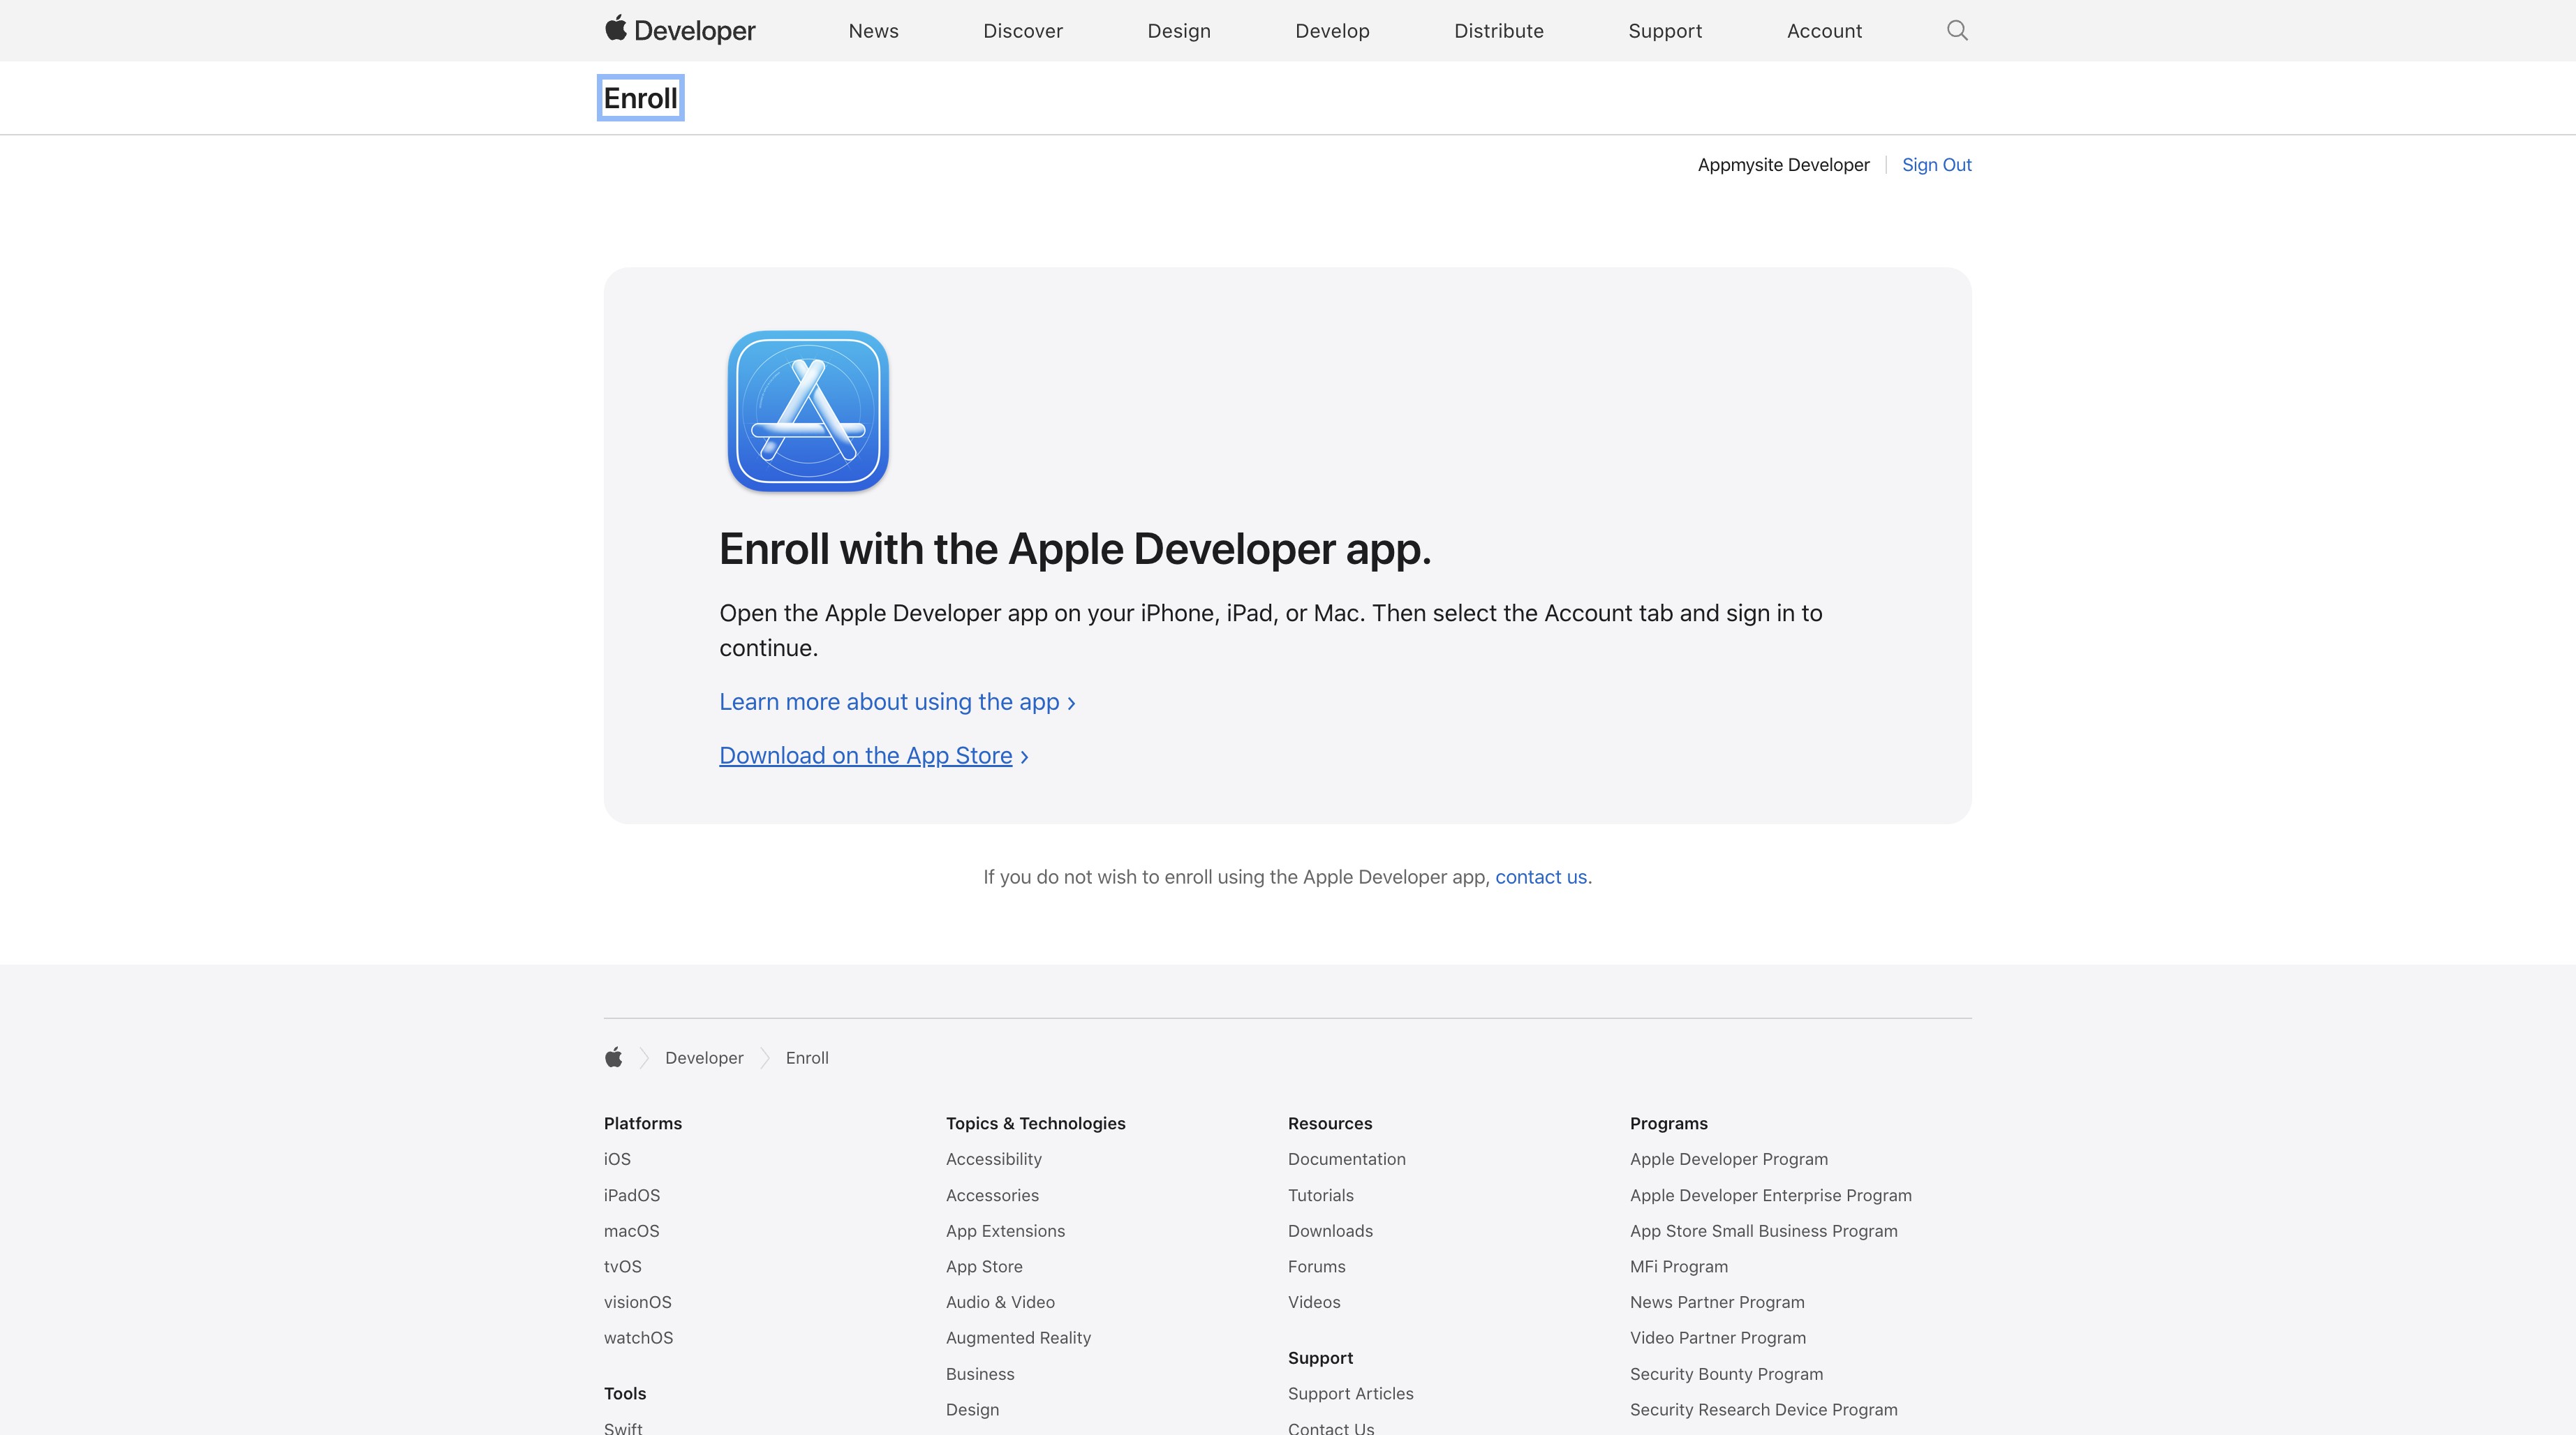
3. Apple sends you to the app. Enrollment is finished through the Apple Developer app, not just the browser.
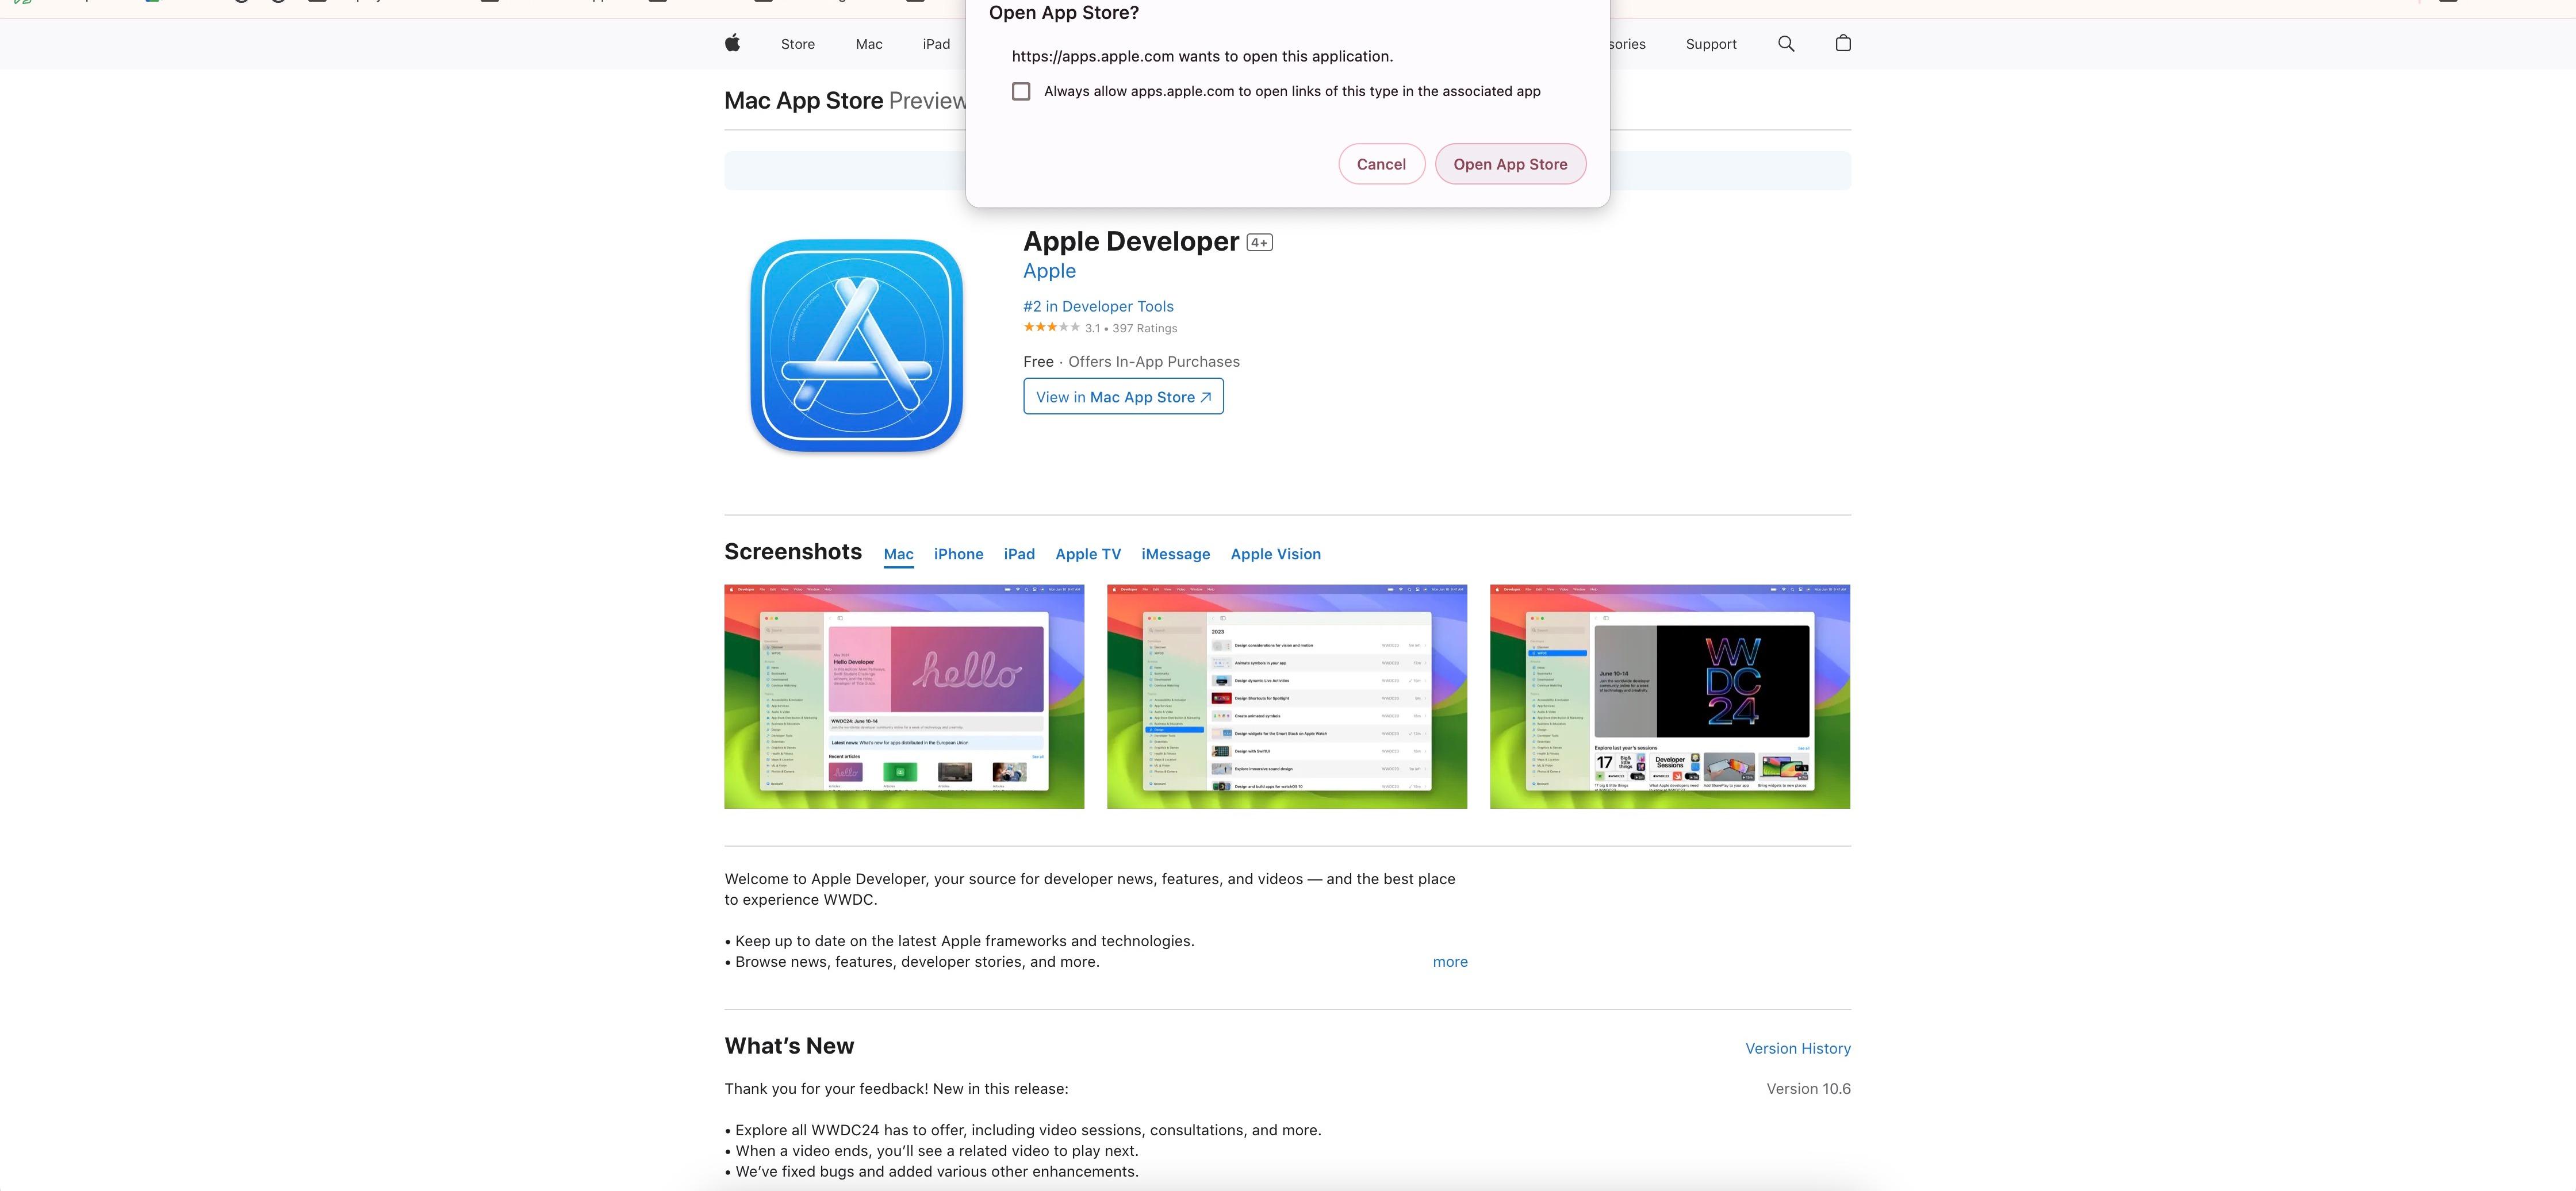
4. Open the App Store. Confirm opening the App Store to install the app.
5. Install the Apple Developer app. Download it from the App Store (it's free).
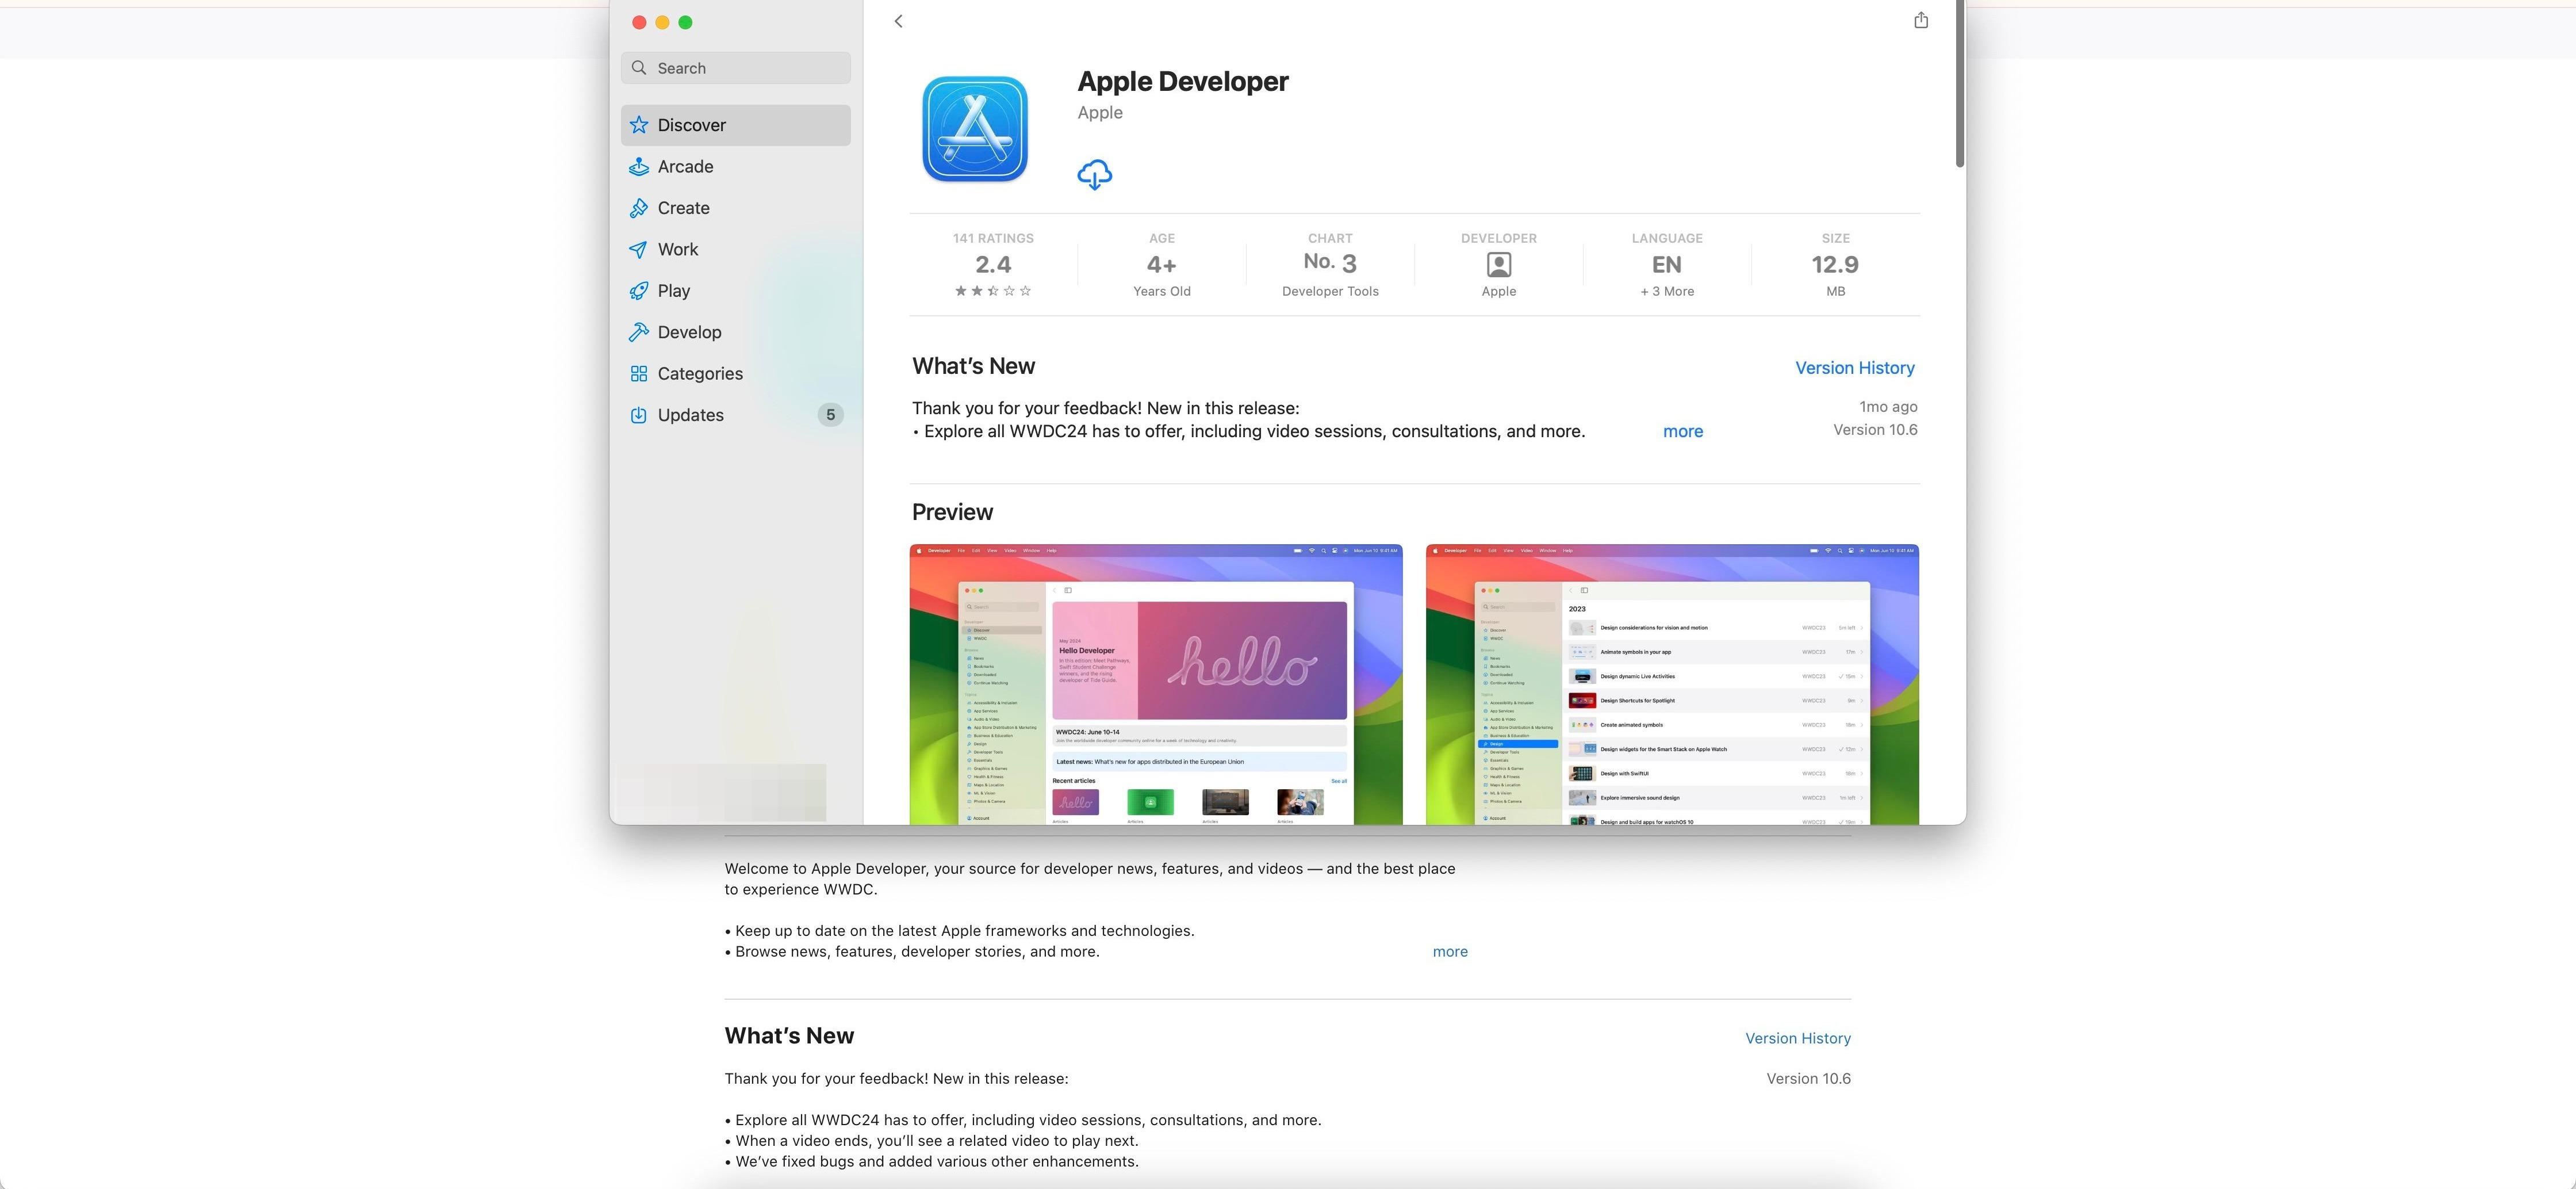
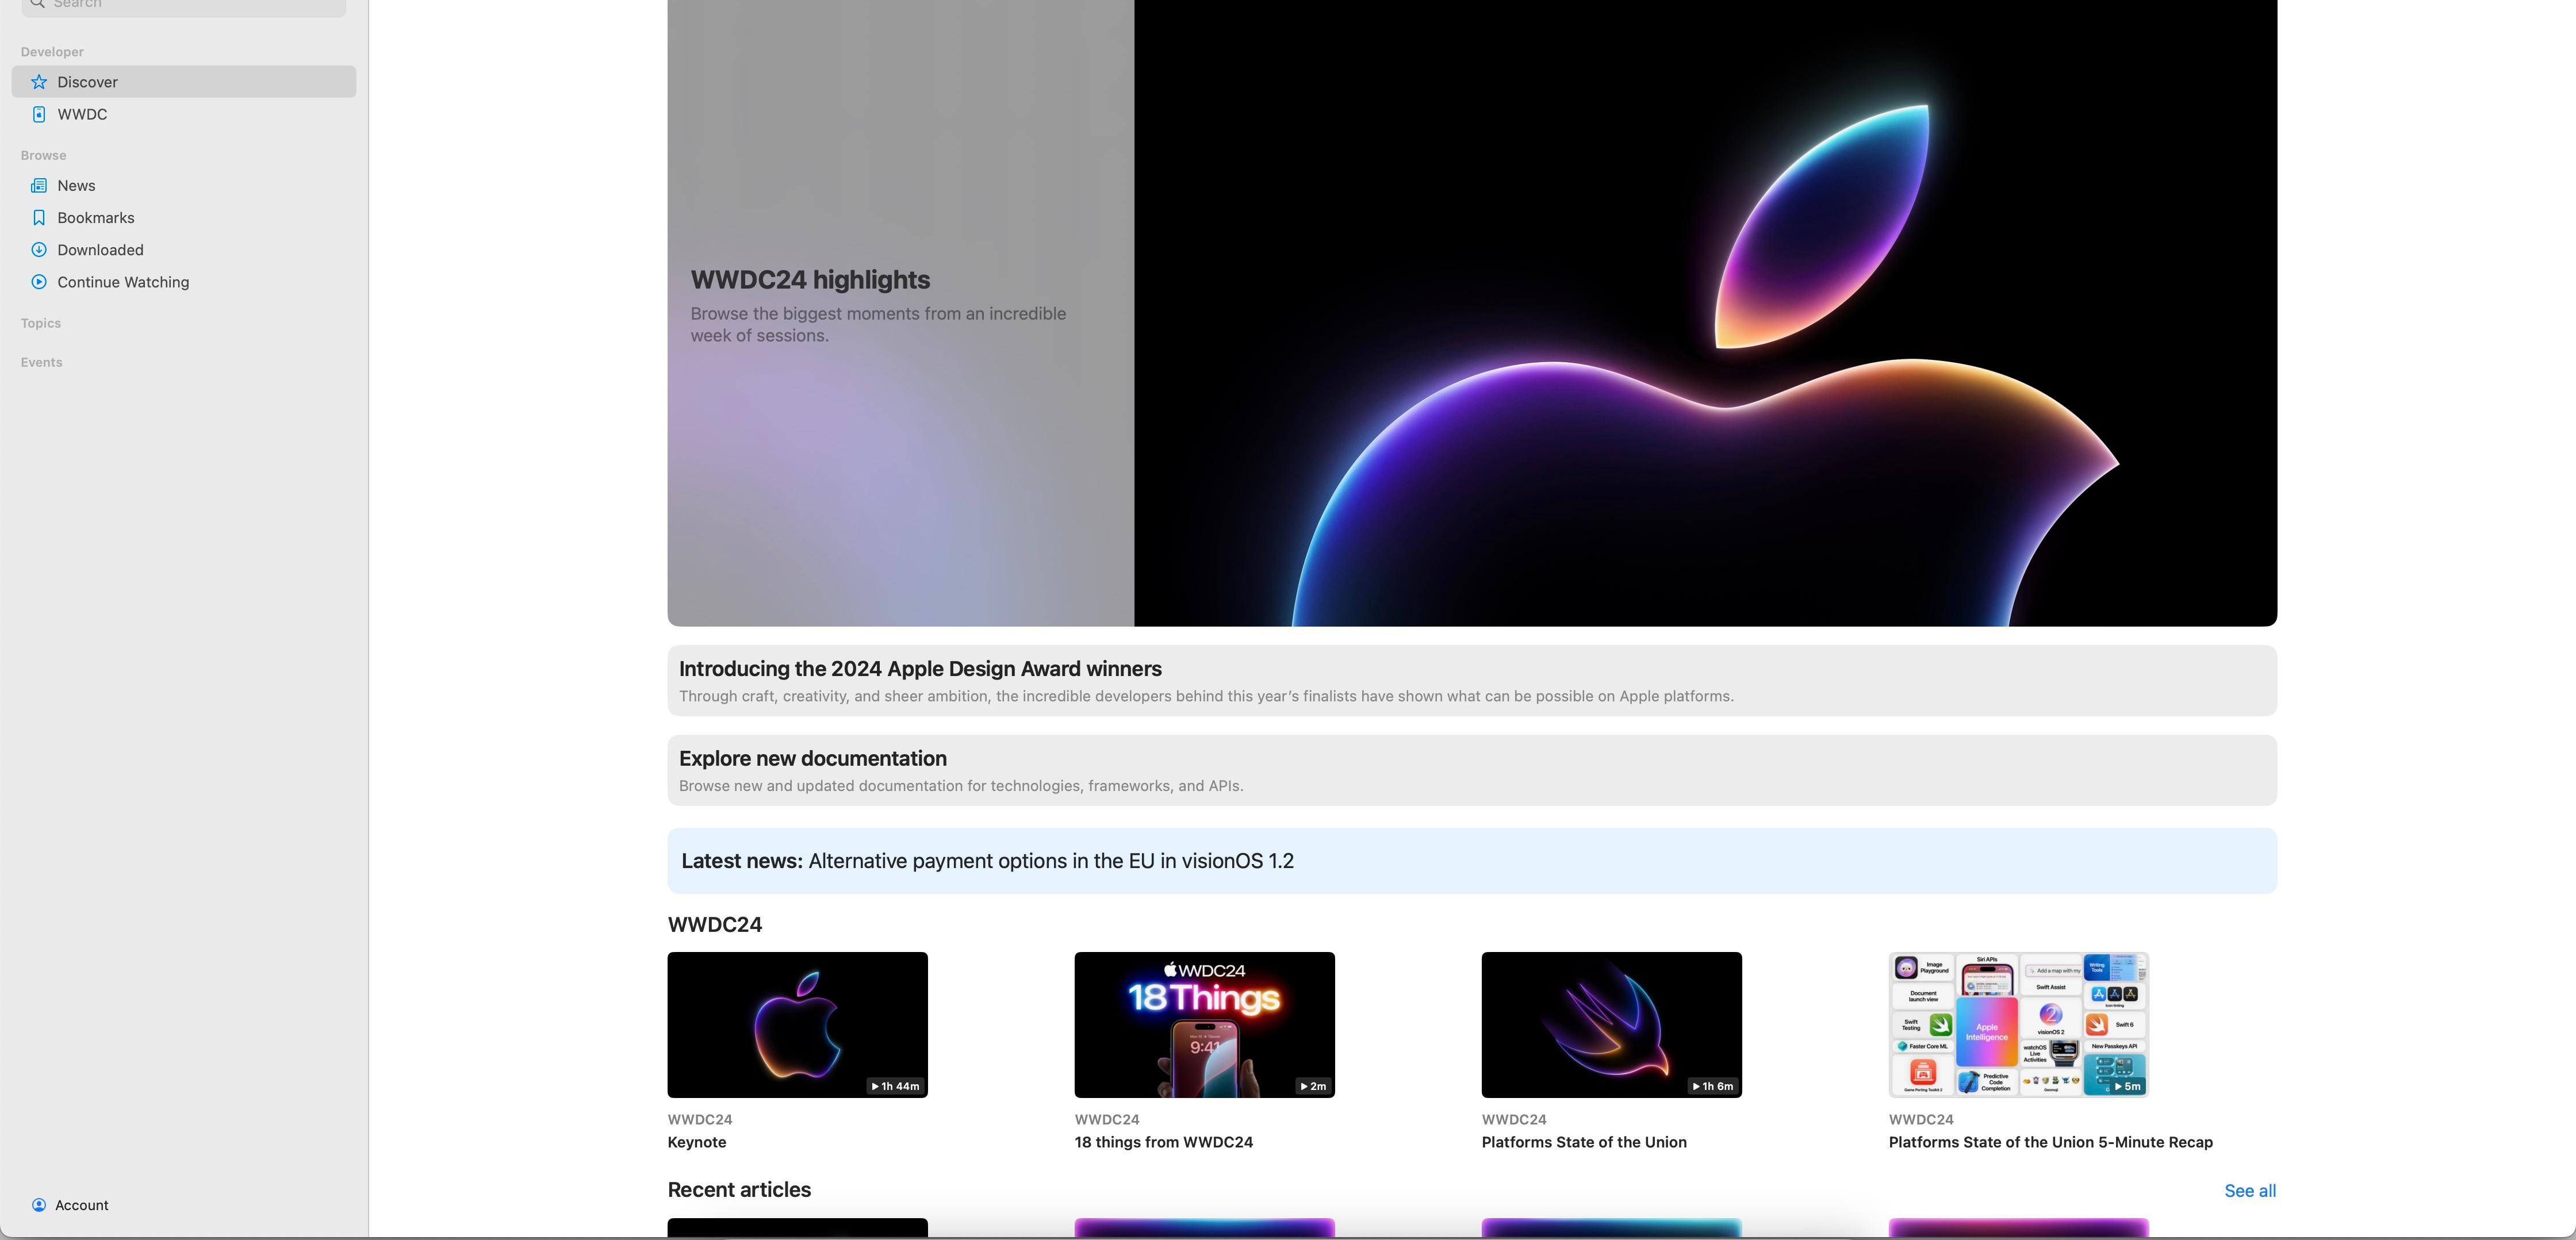
6. Open the app. After installing, launch the Apple Developer app.
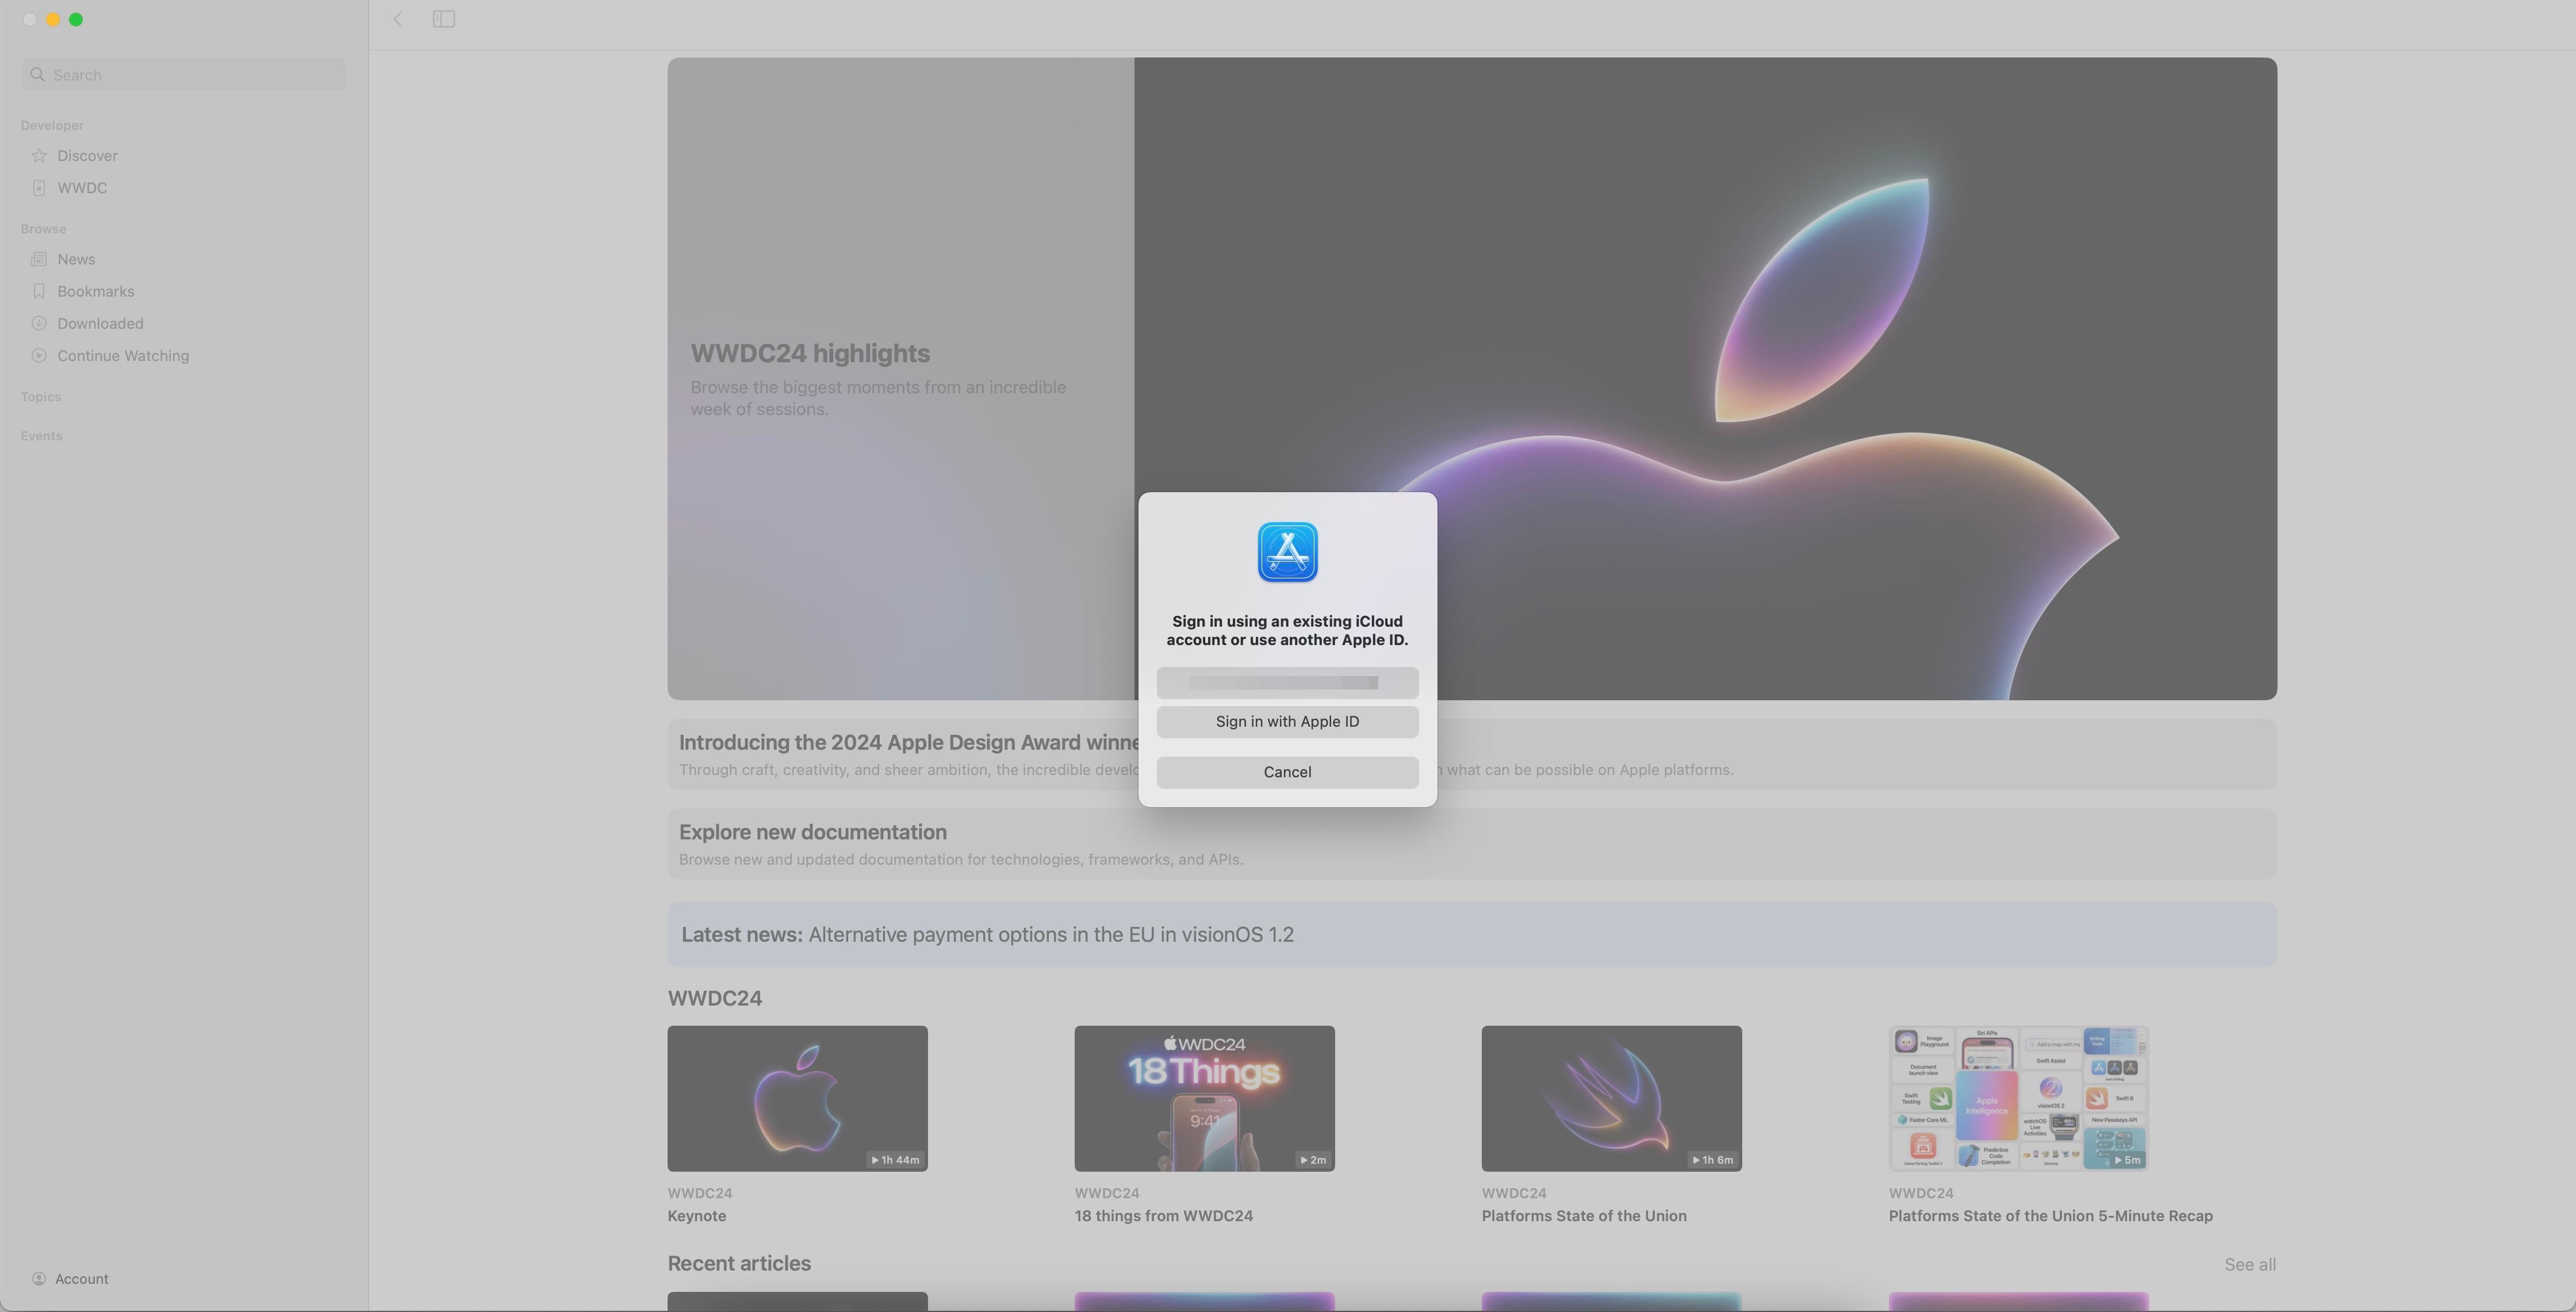
7. Sign in inside the app. Sign in with the same Apple ID (with 2FA).
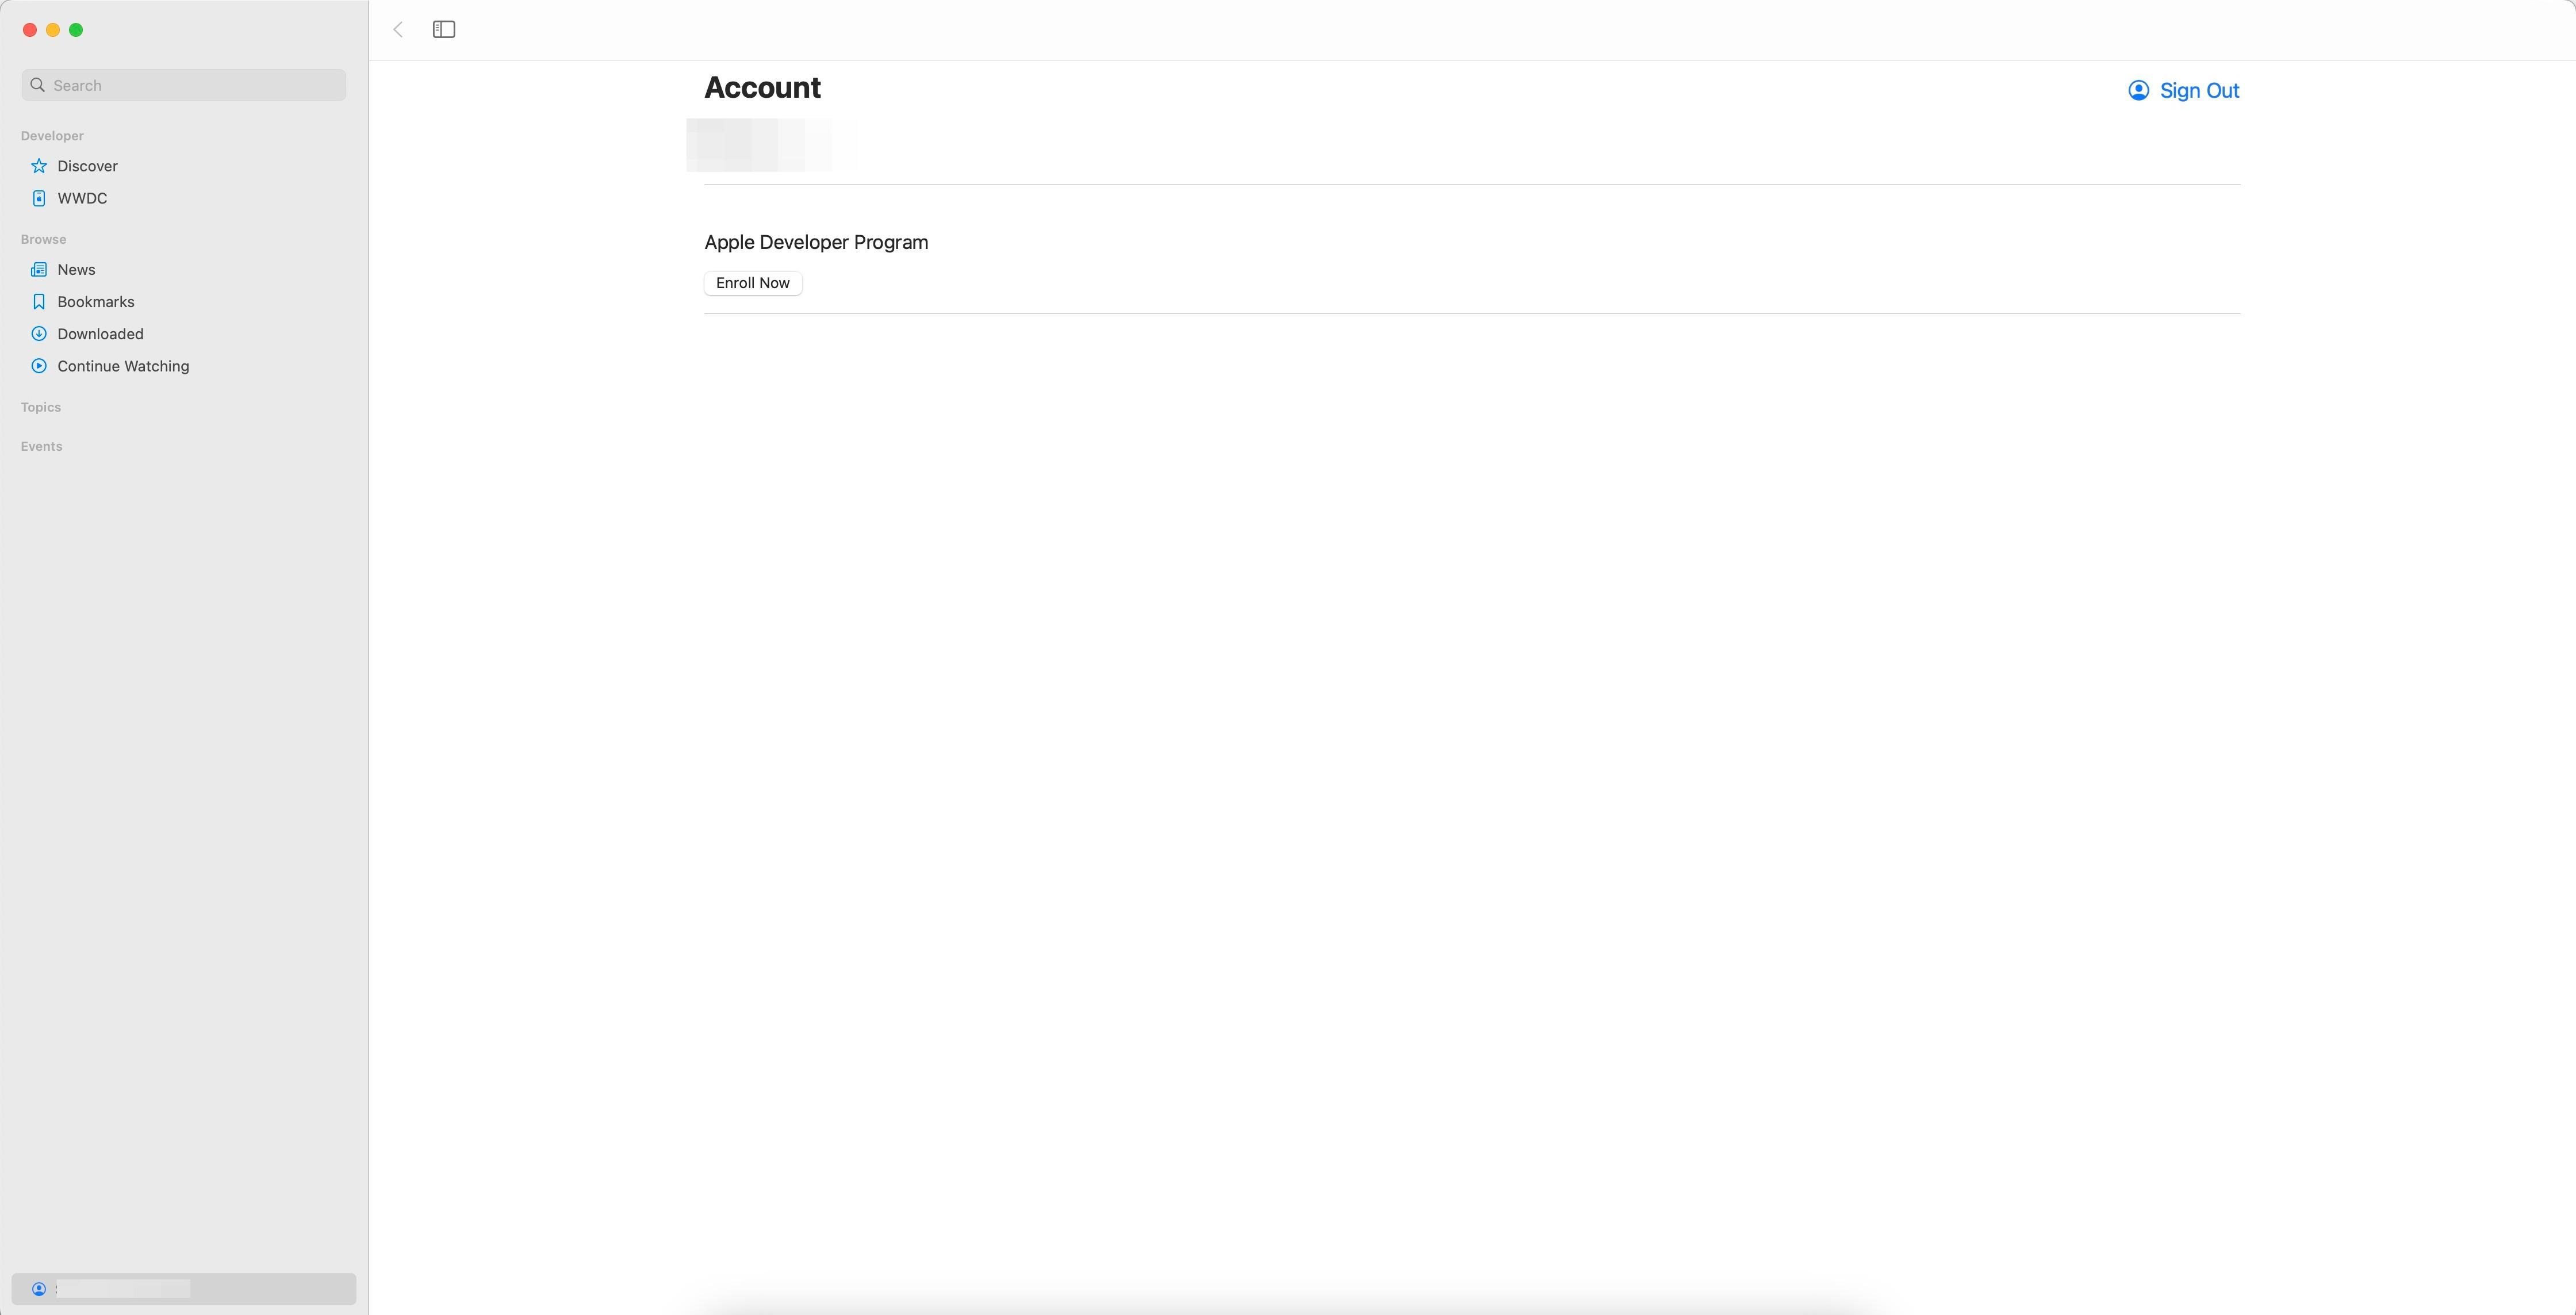
8. Go to Account → Enroll Now. From the Account tab, start enrollment in the Apple Developer Program.
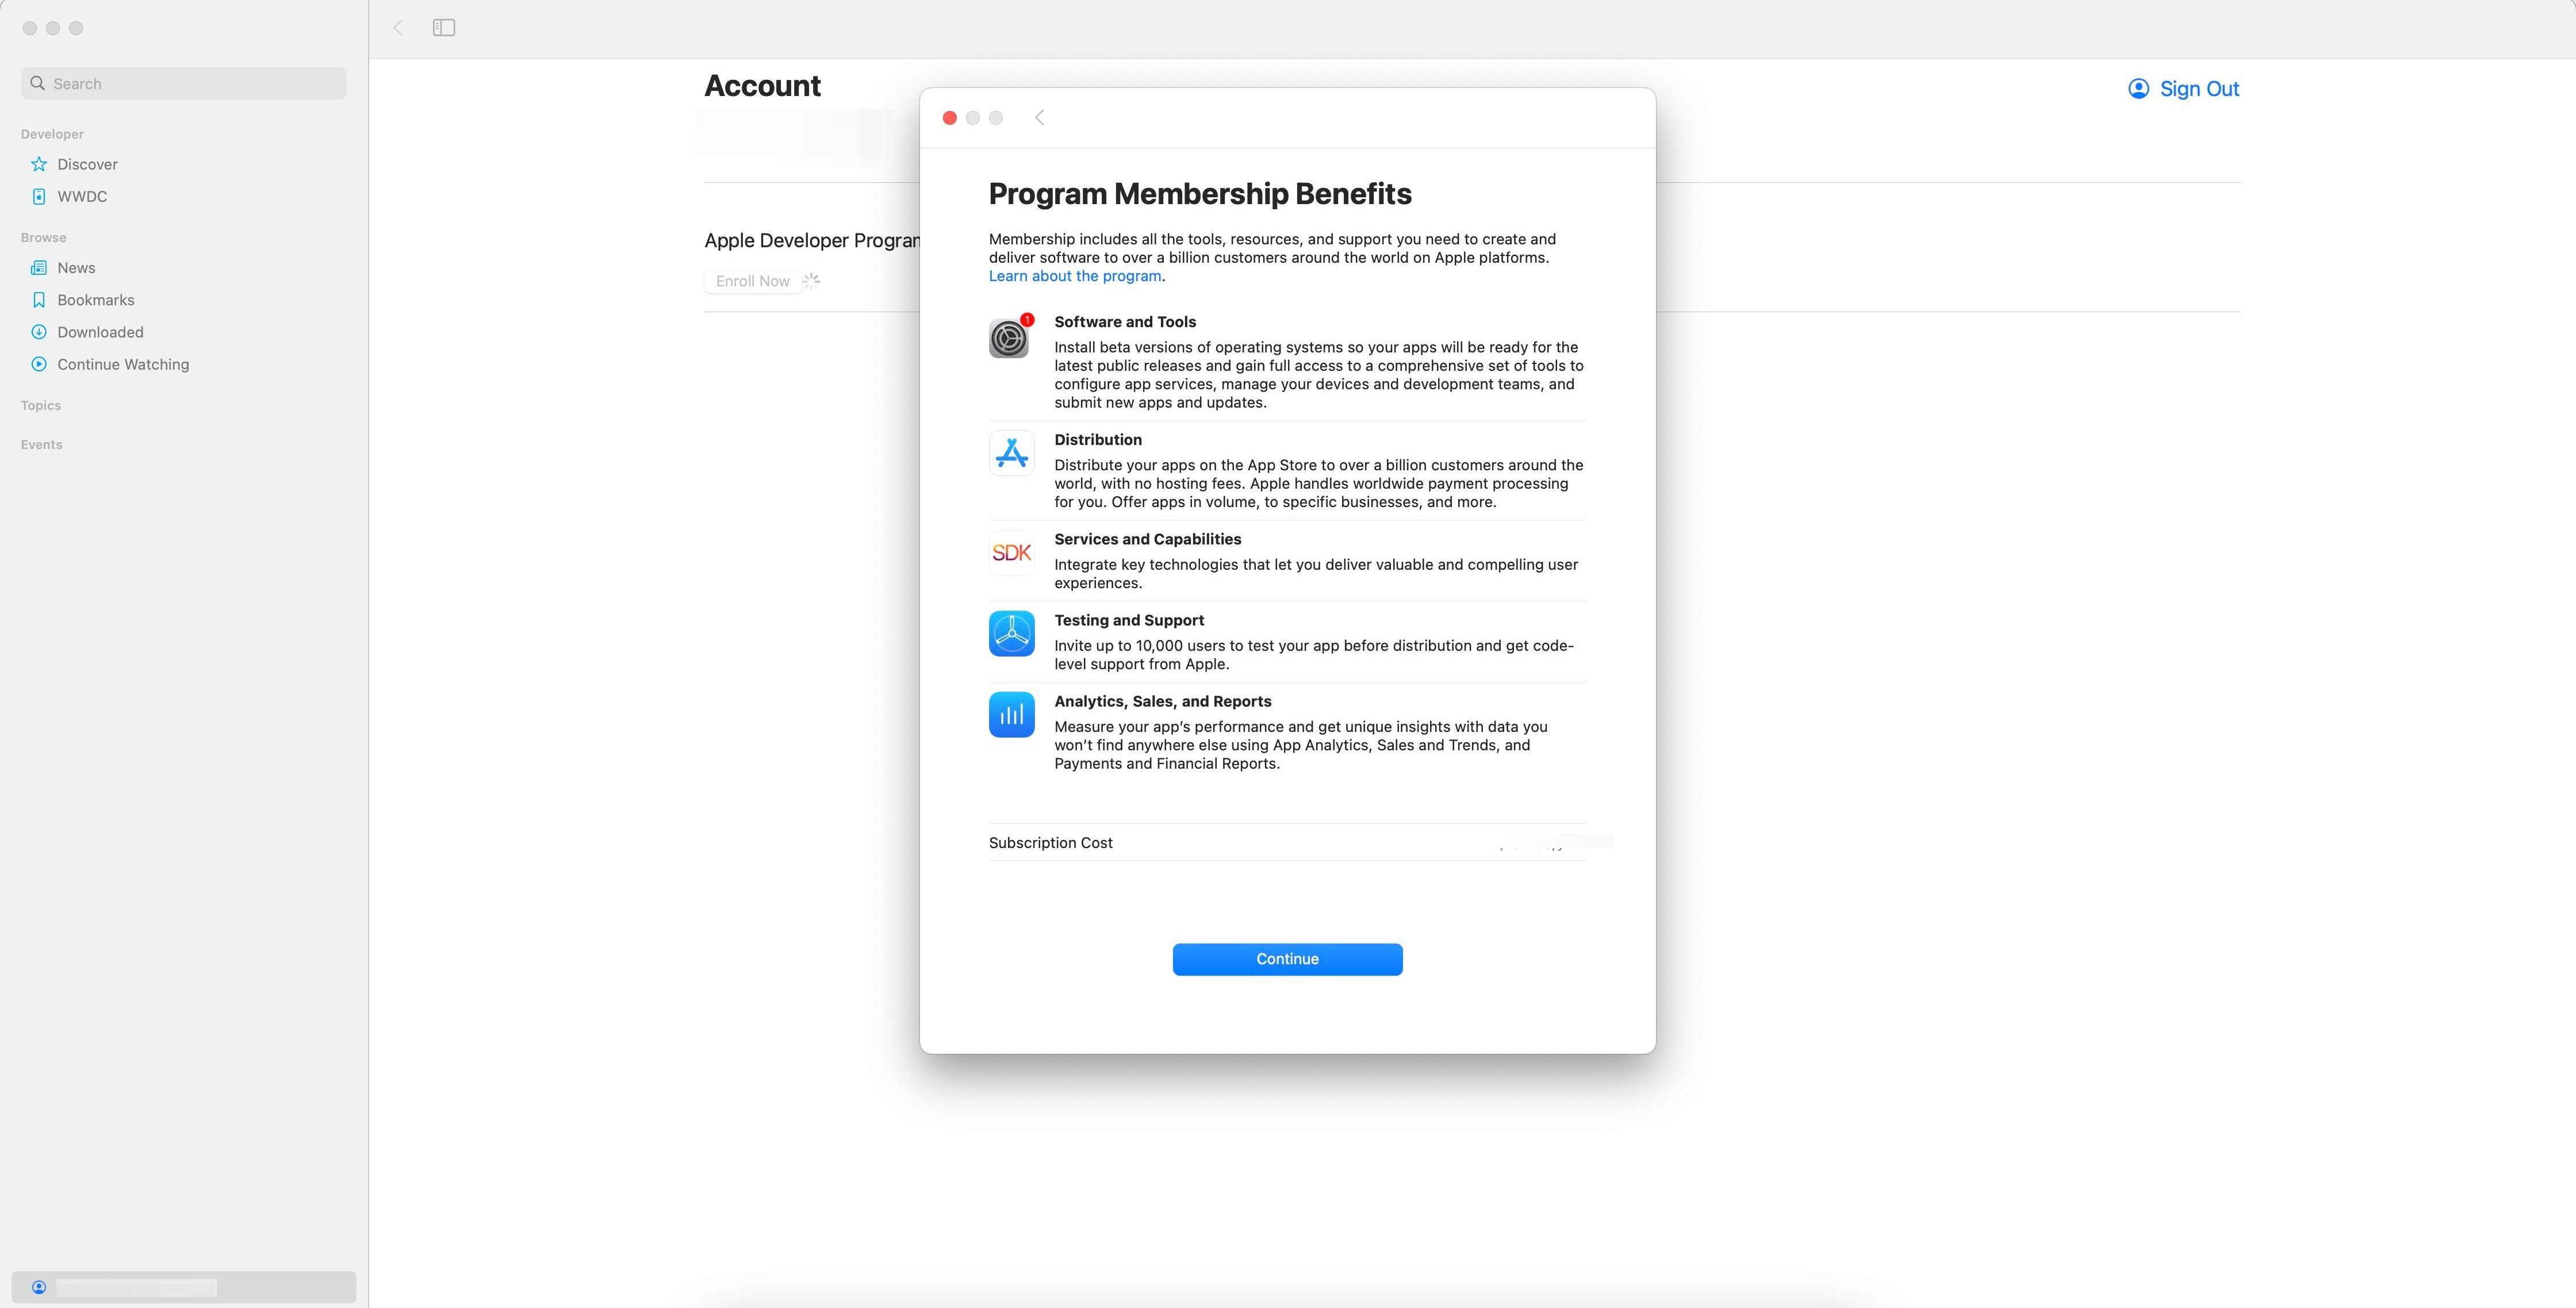
9. Read the program benefits. Go through Program Membership Benefits and tap Continue.
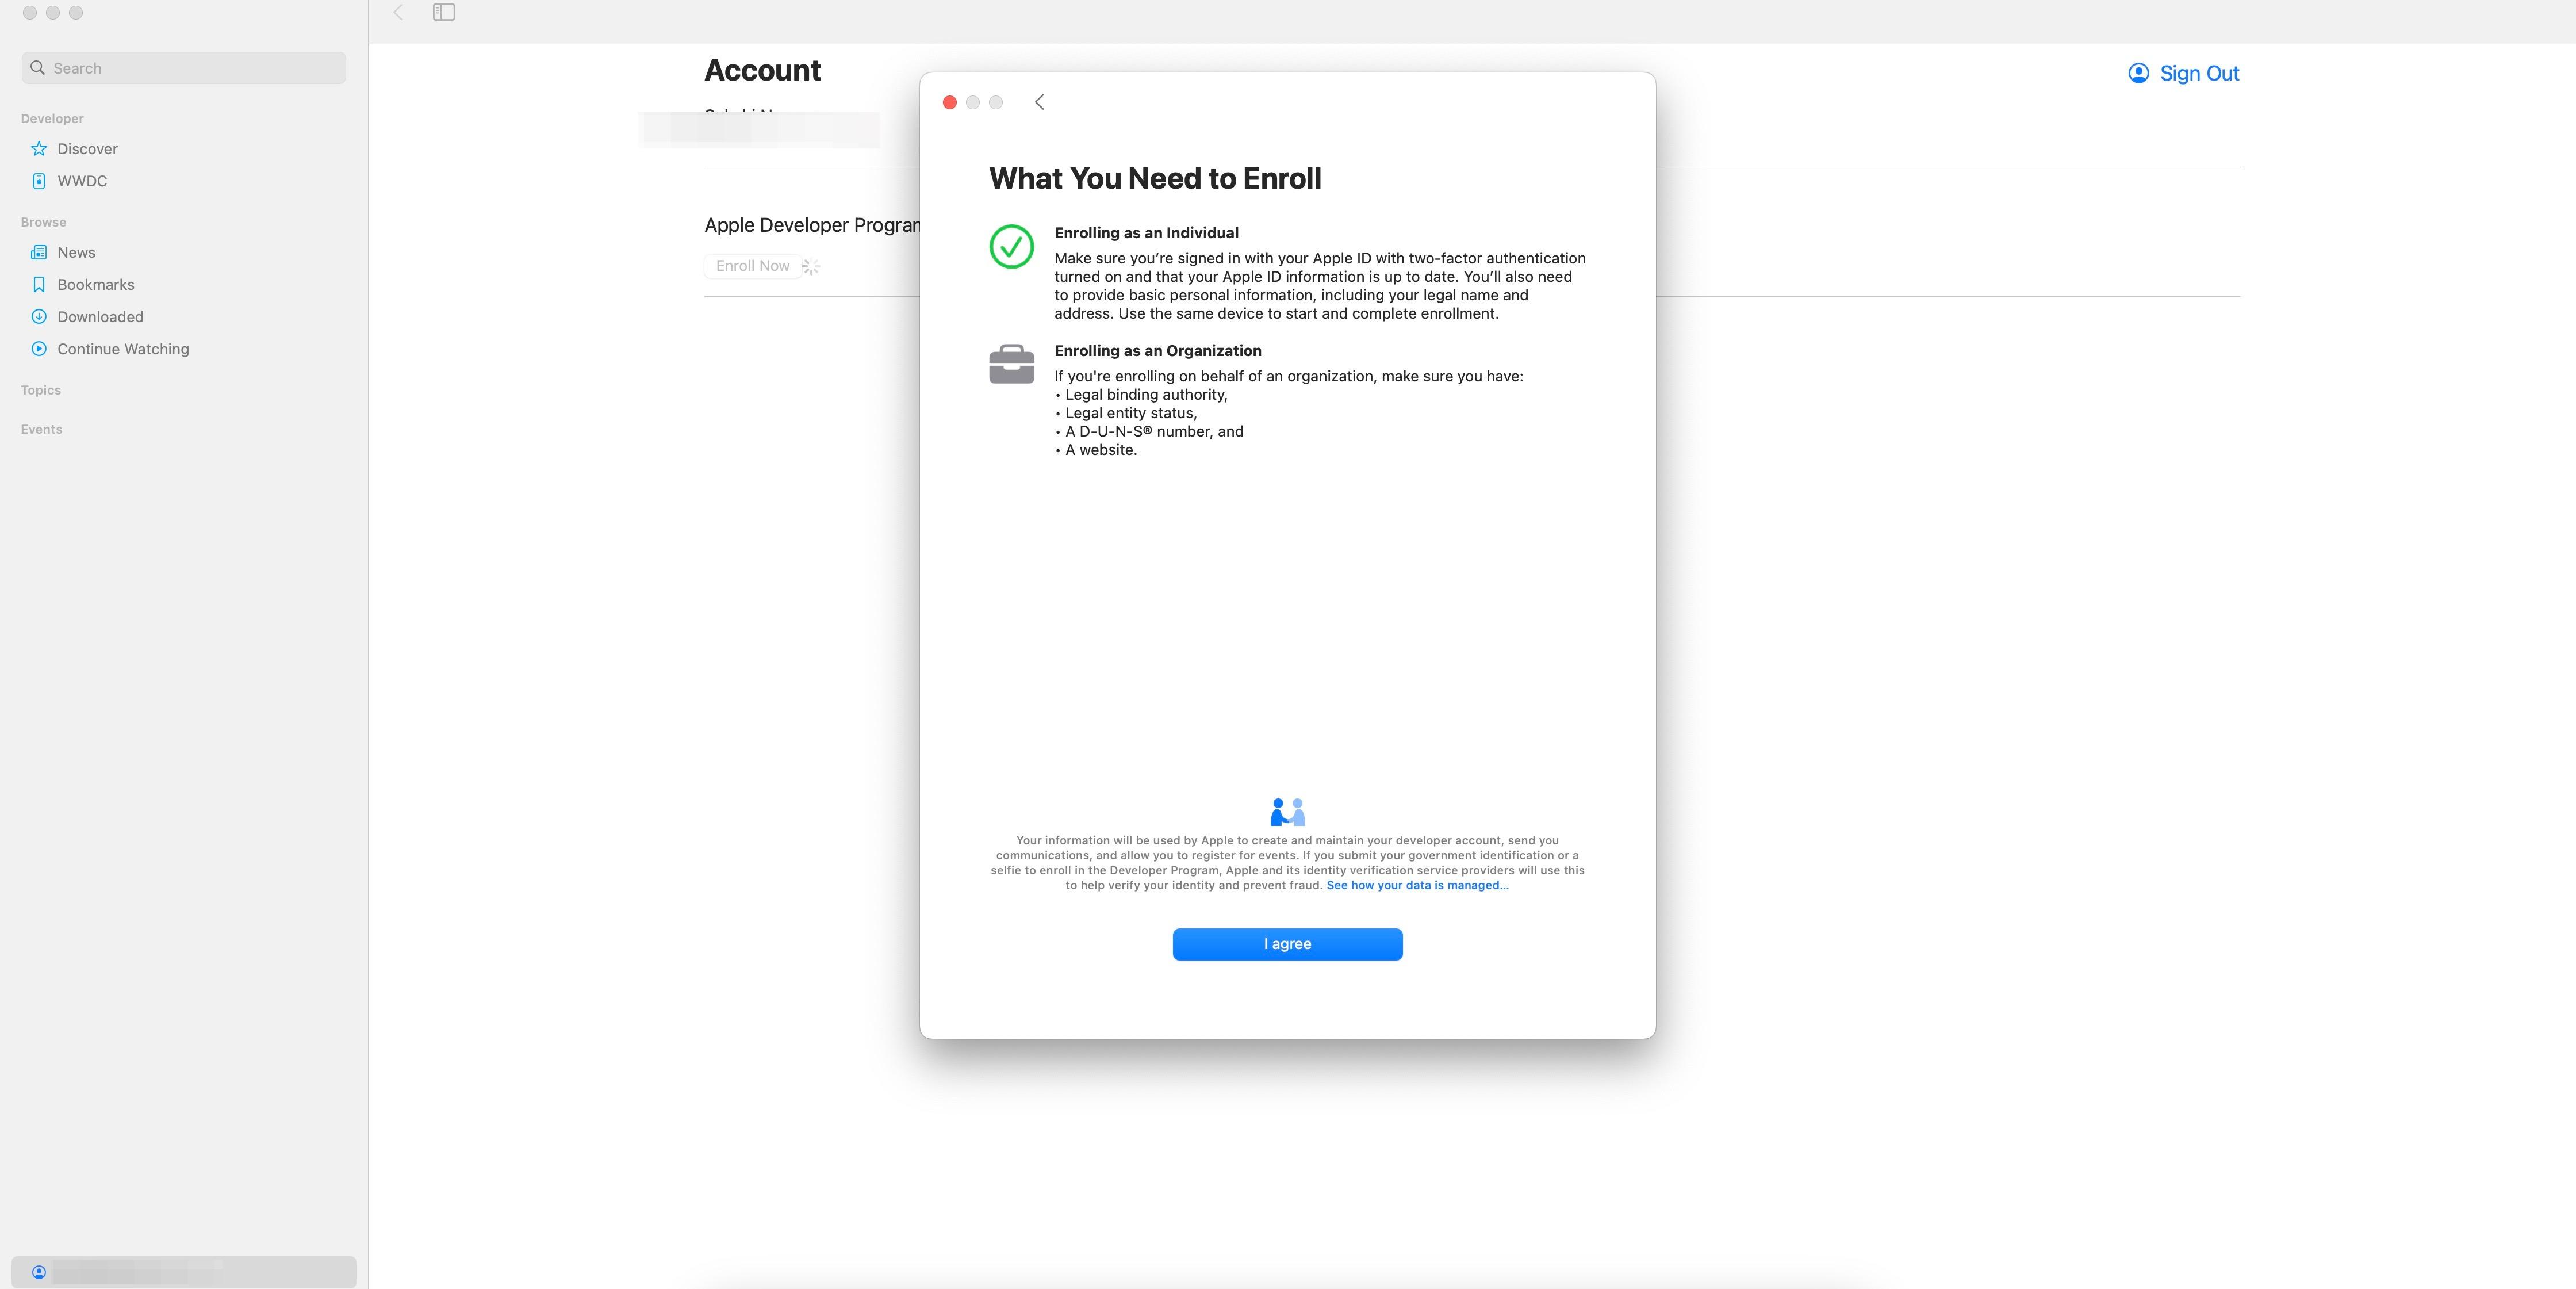
10. “What You Need to Enroll”. Confirm you have what's needed for Individual or Organization and tap I agree.
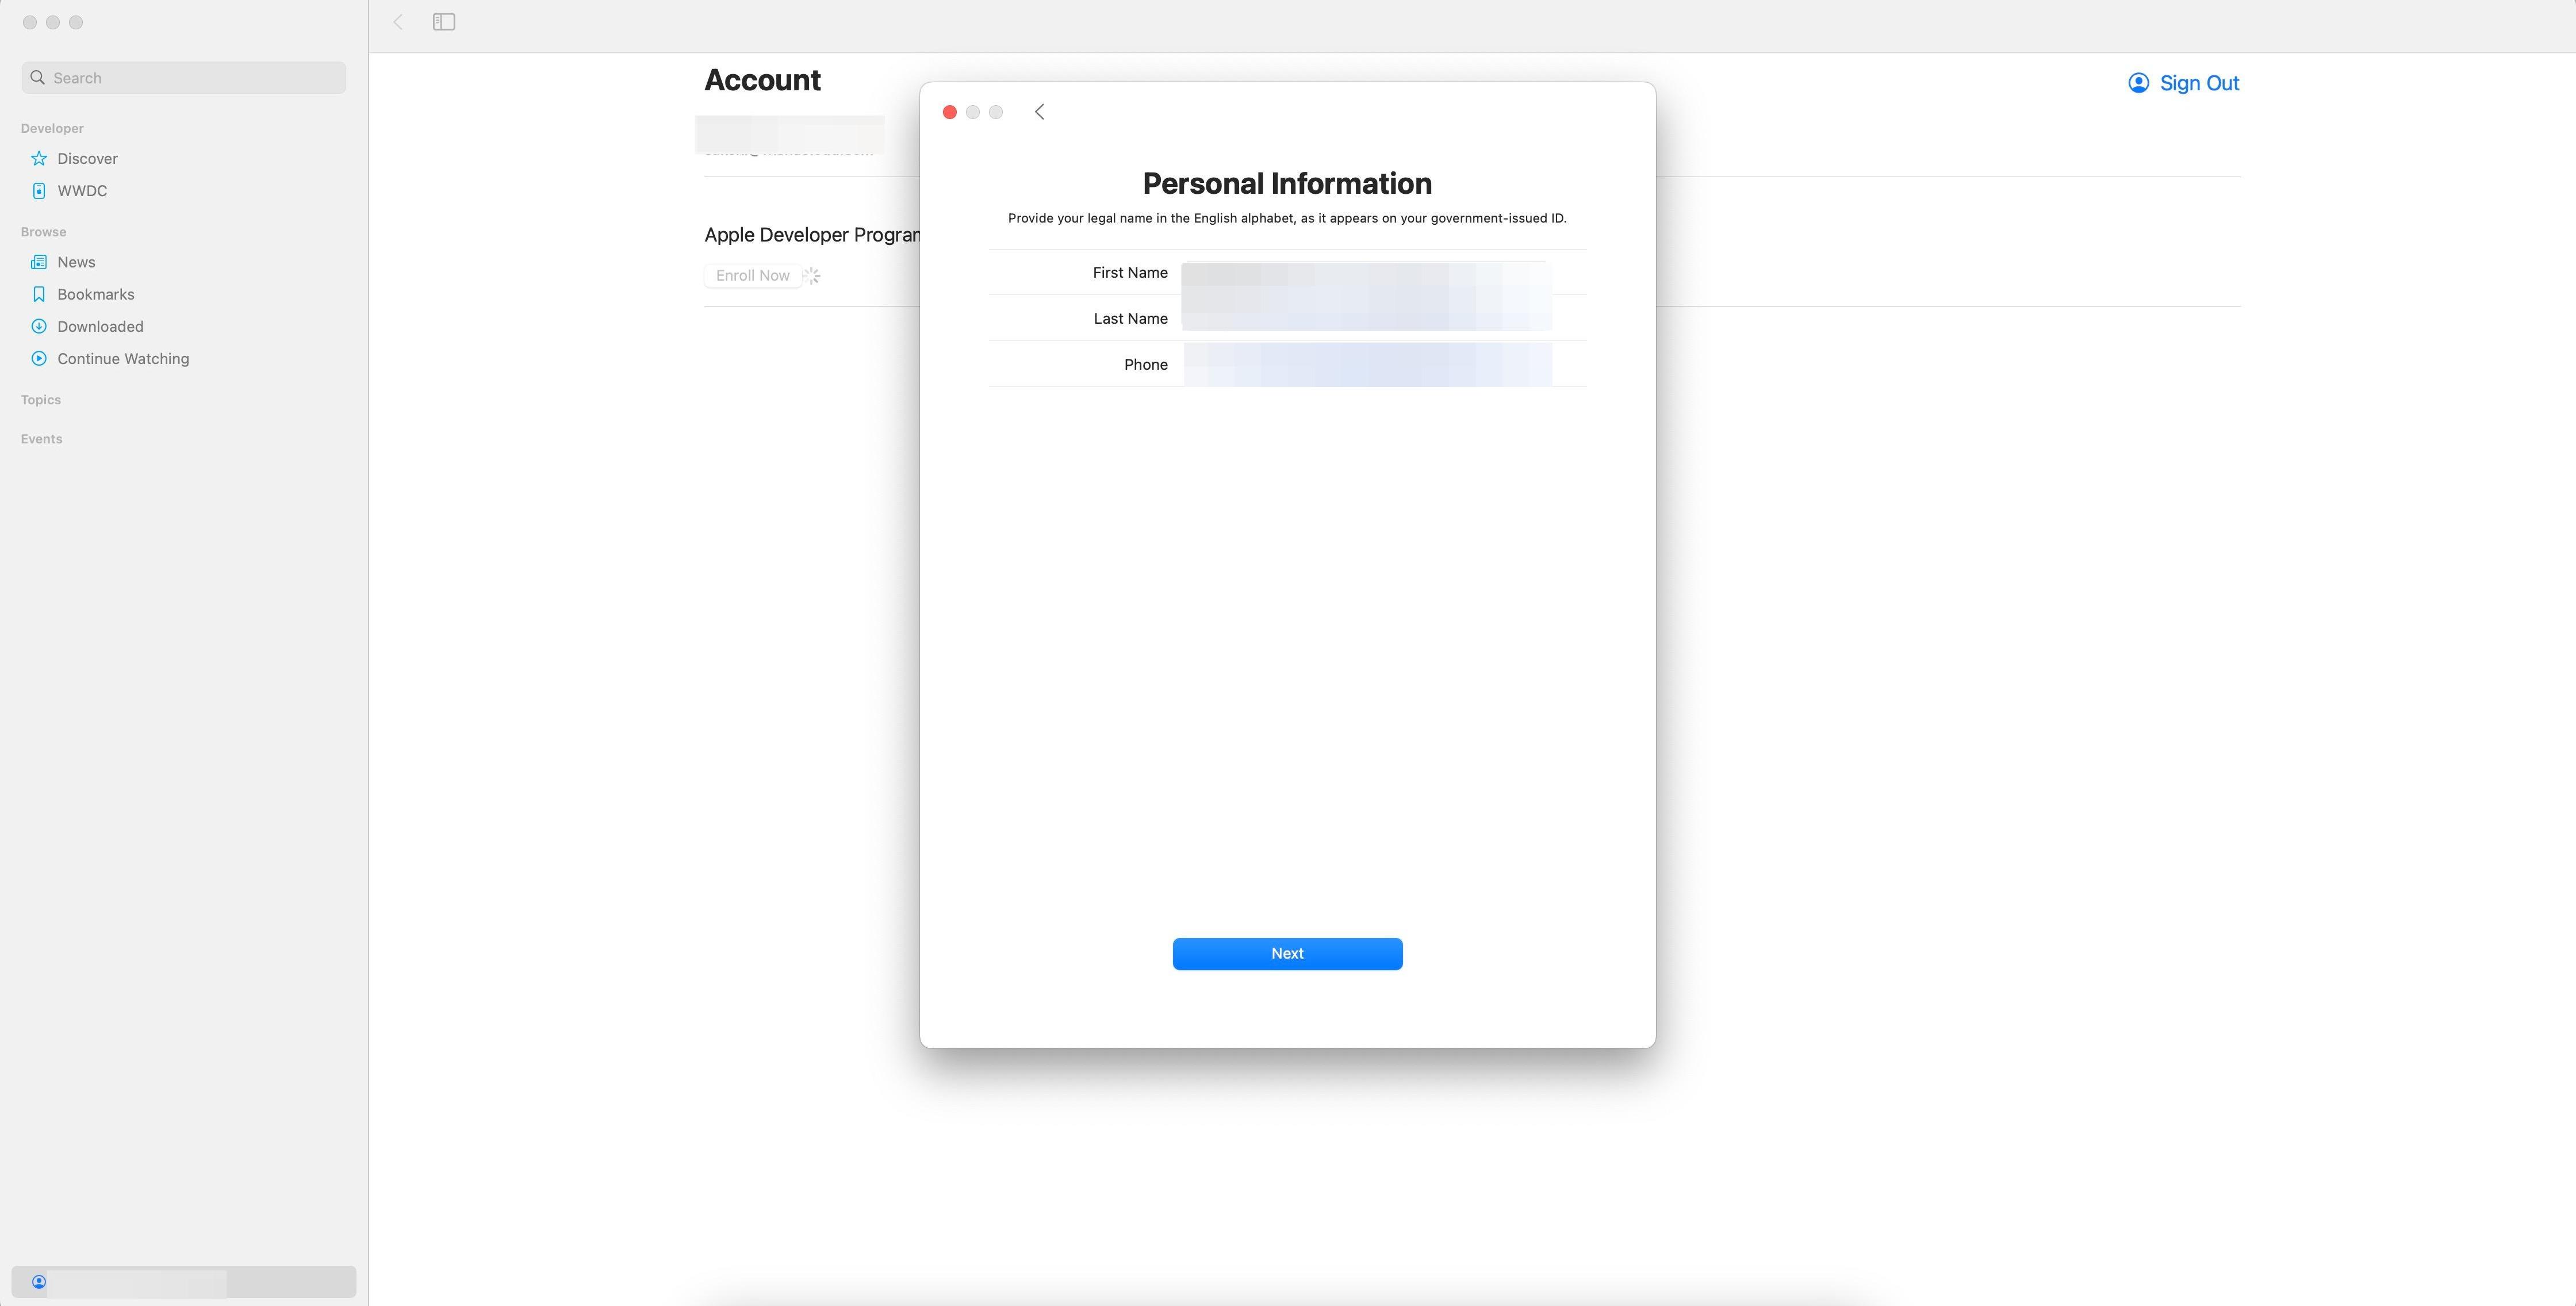
11. Personal information. Fill in your legal name and phone (exactly as on your ID).
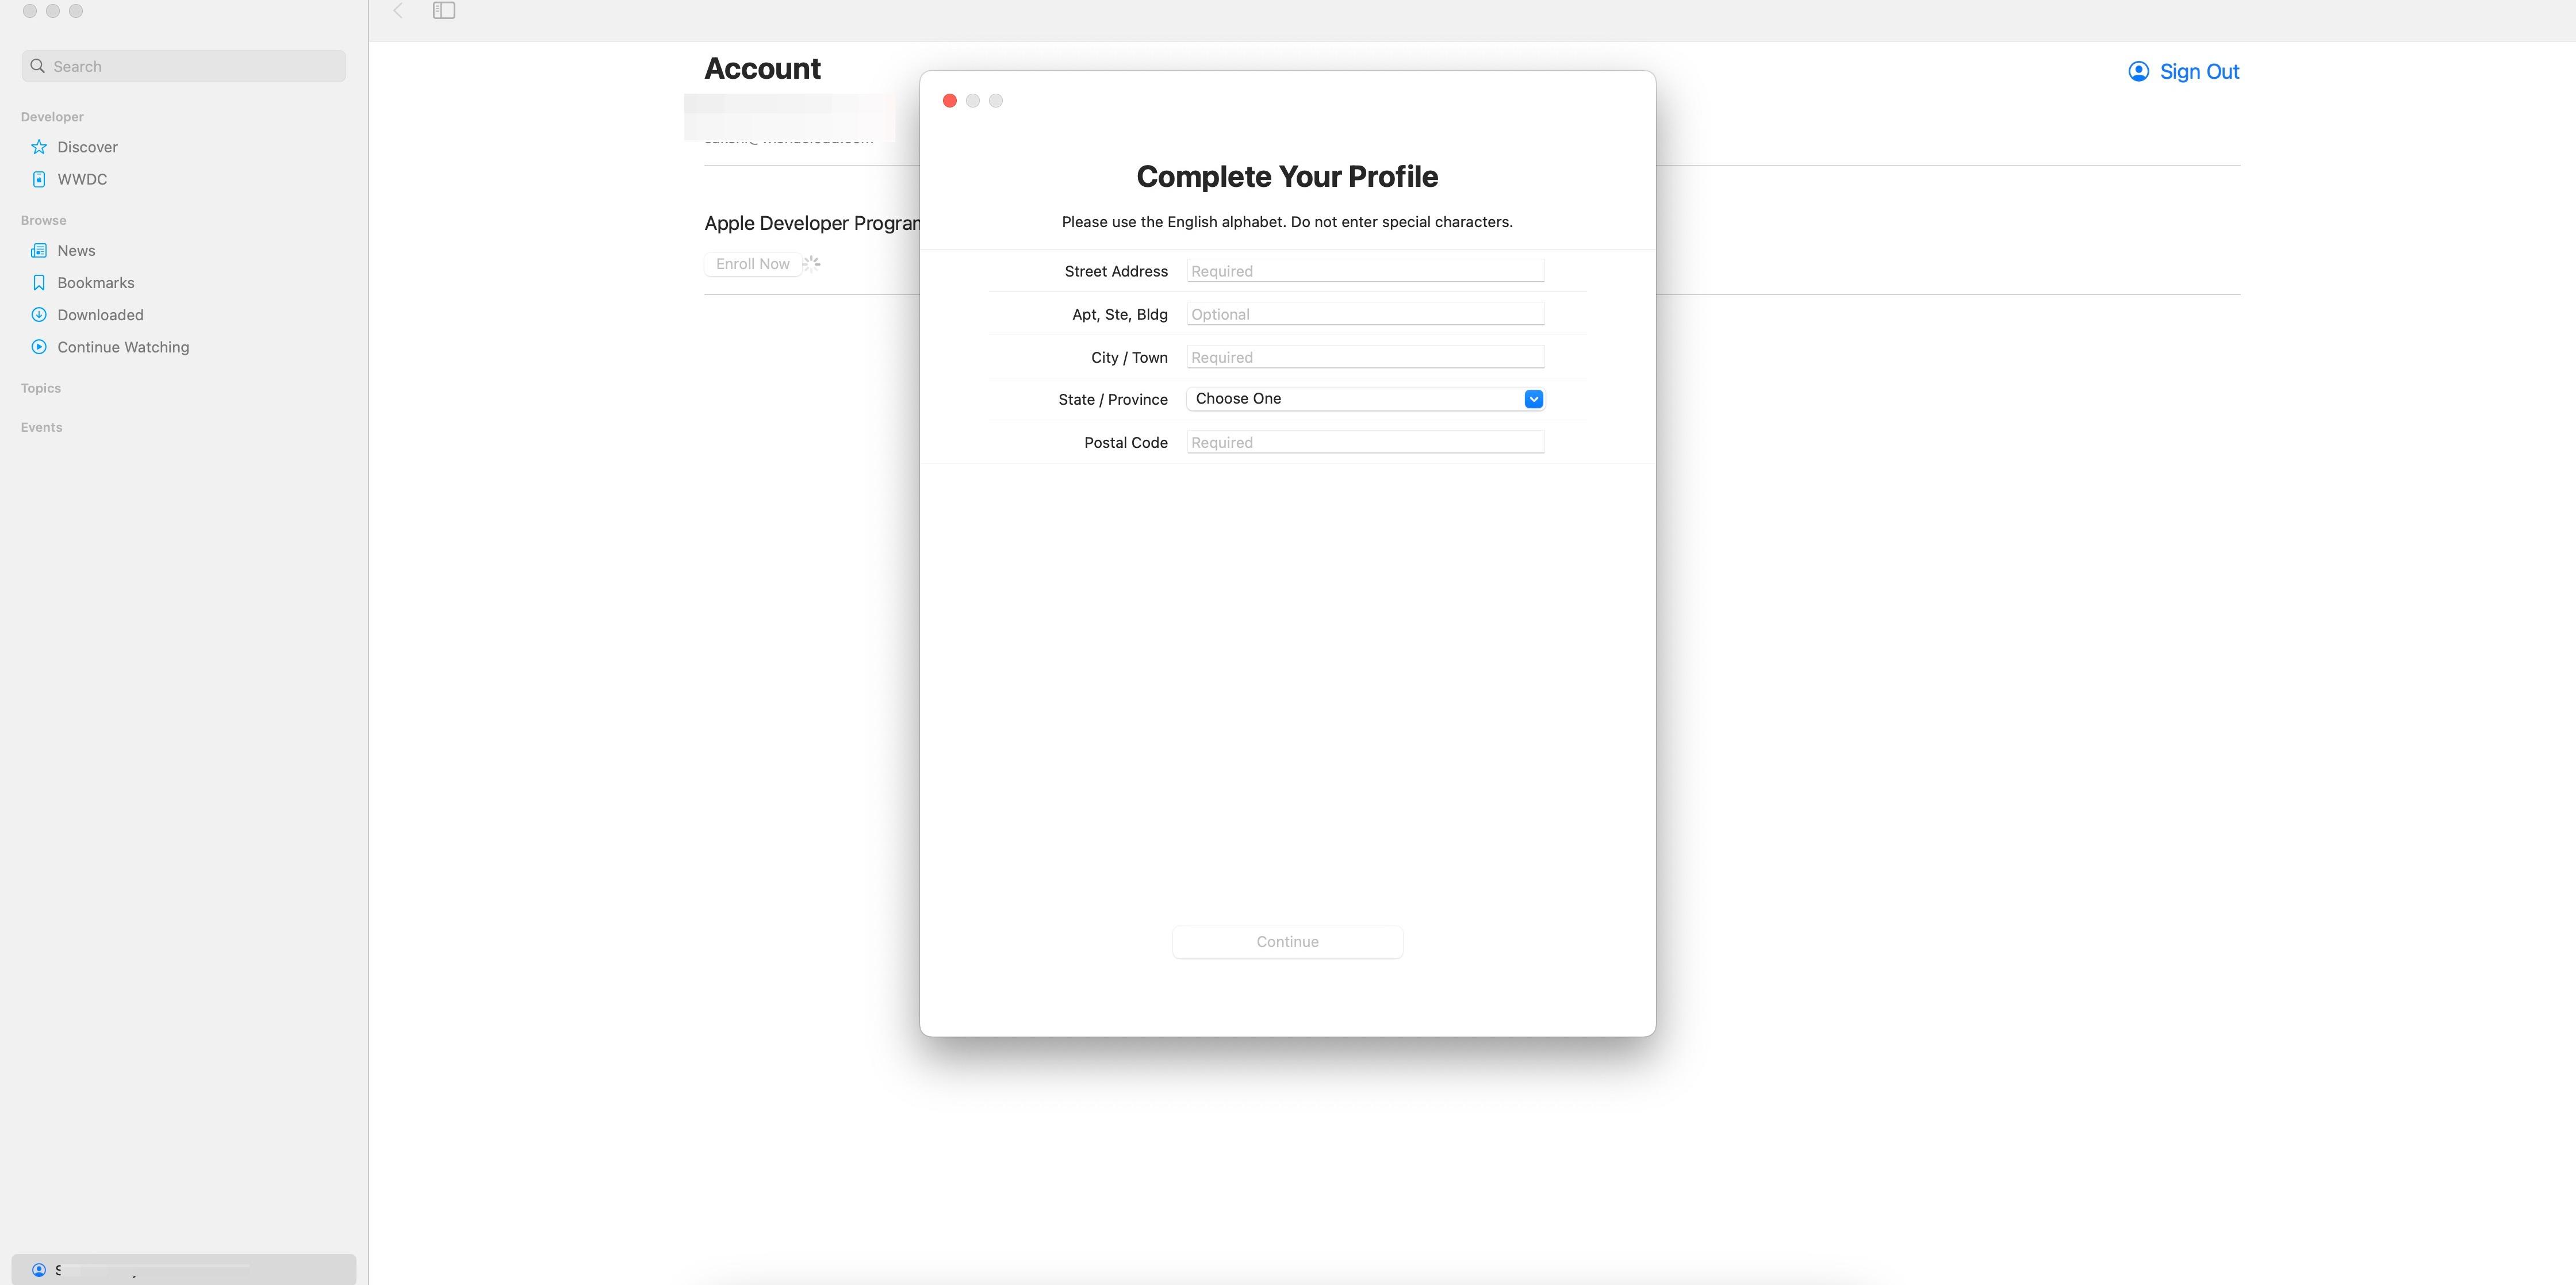
12. Complete your profile. Add the address (use the English alphabet, no special characters).
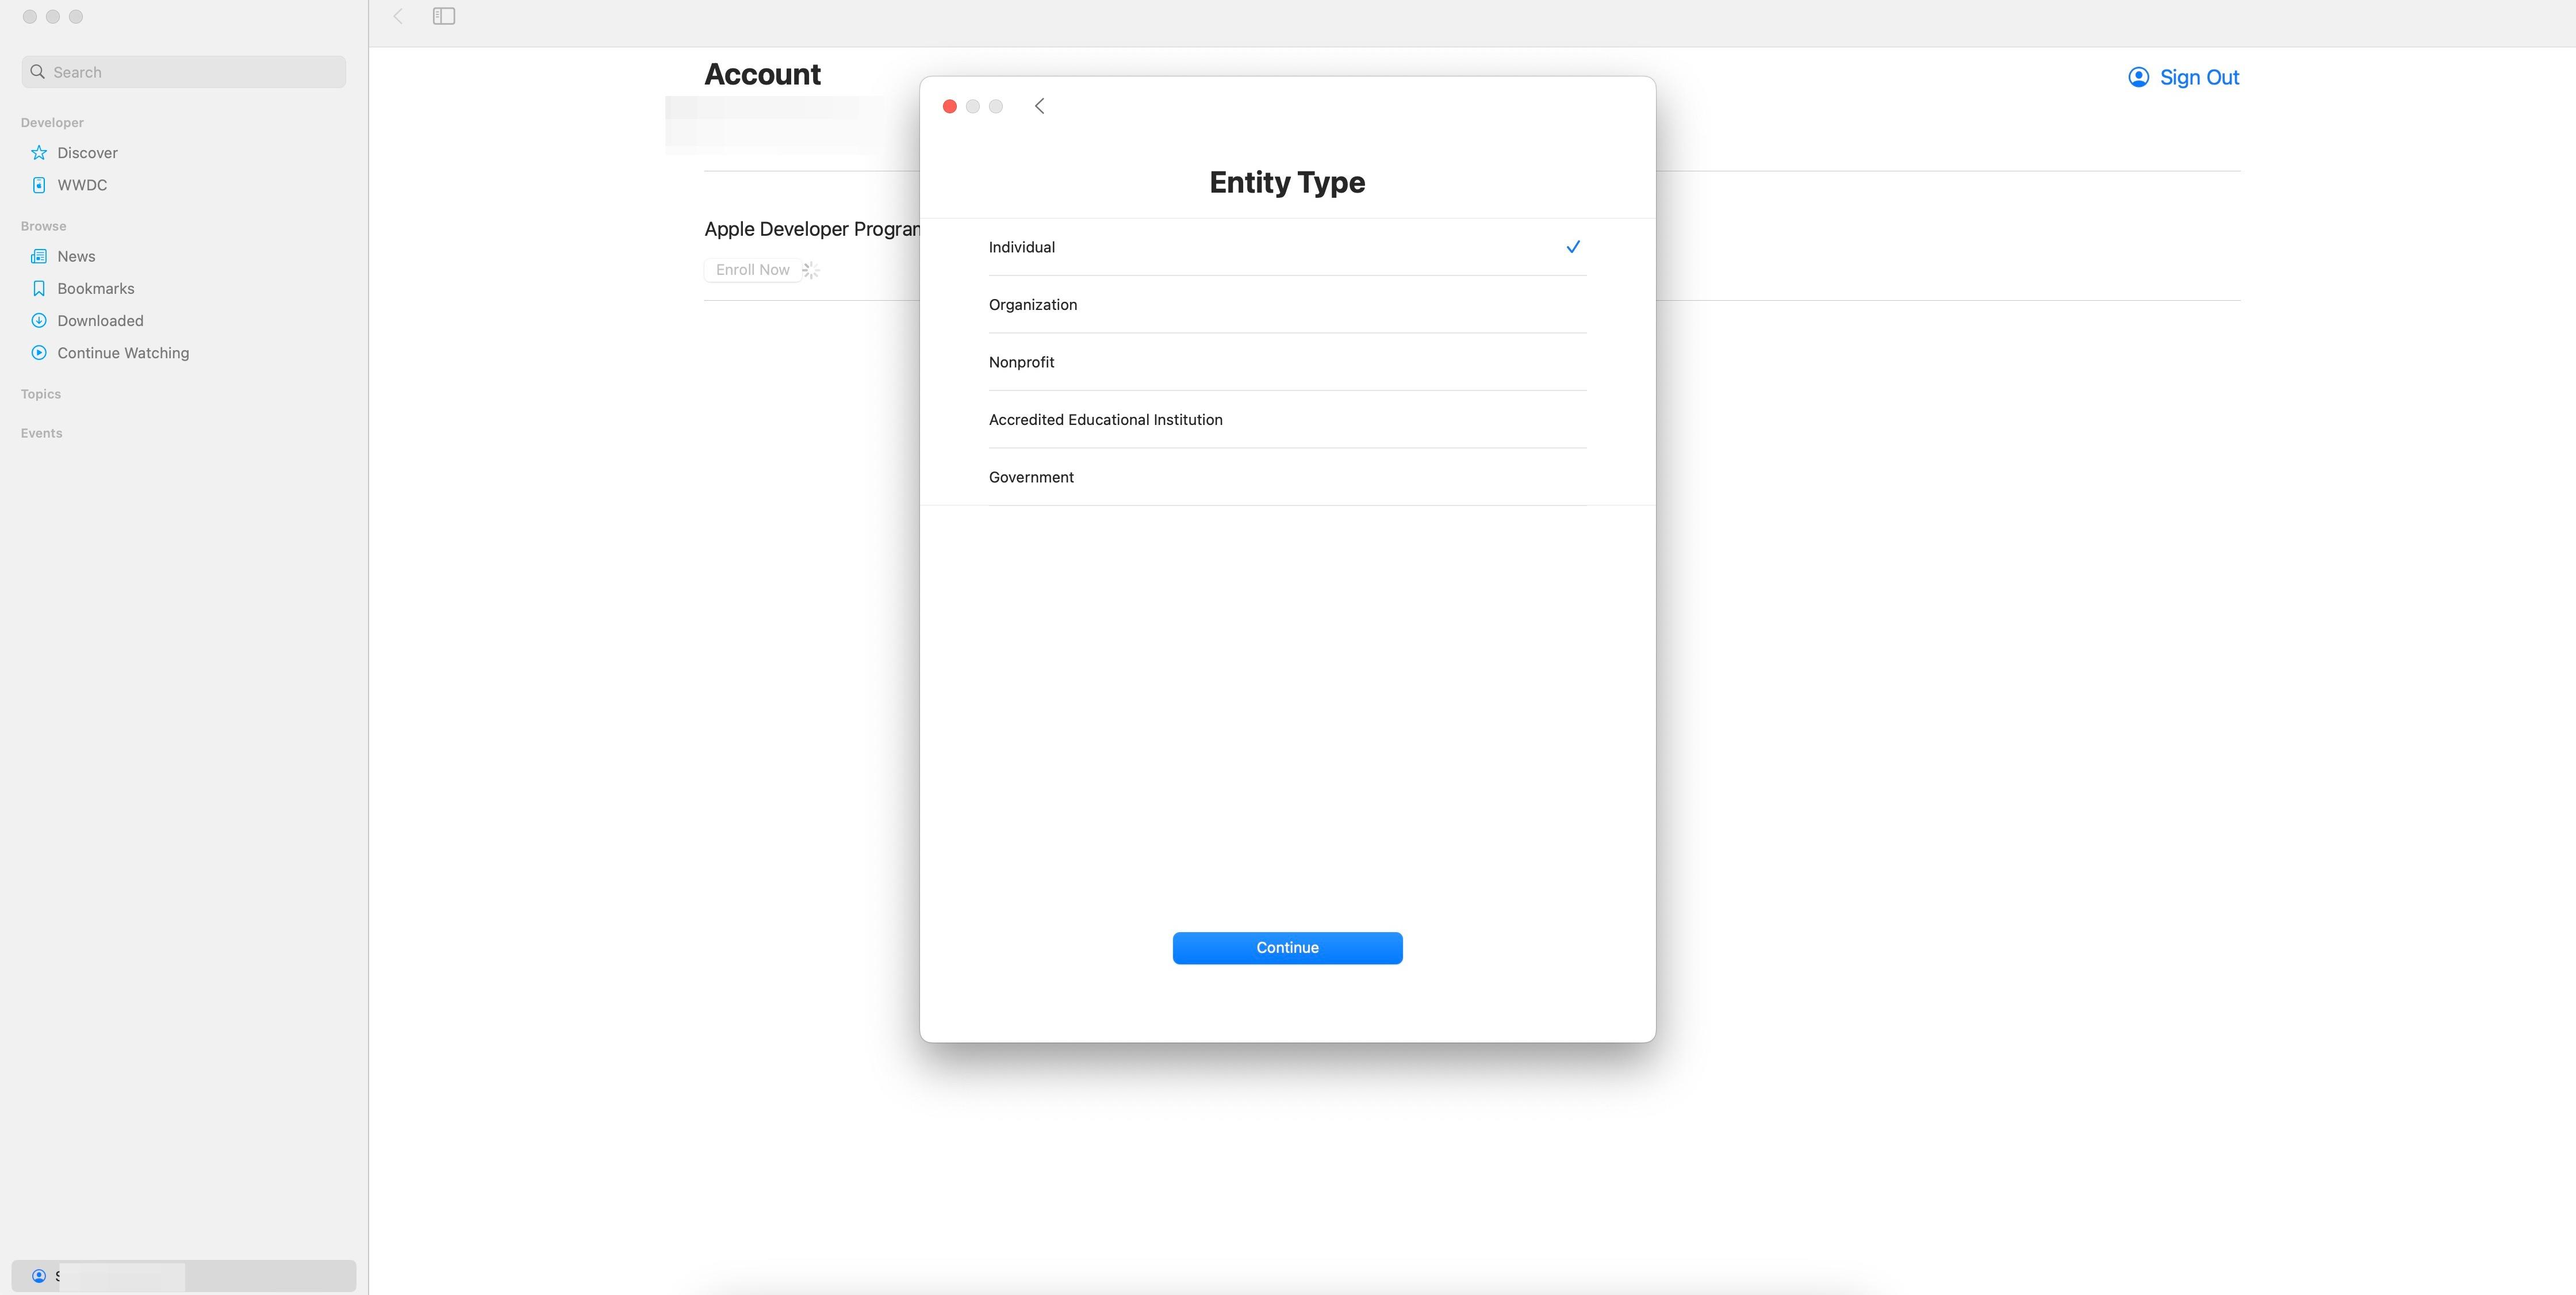
13. Entity type. To publish under the company, choose Organization (not Individual).
14. Organisation details. For a company, fill in: the legal entity name (shown as the “seller” on the App Store), the D-U-N-S, headquarters address, phone, the website (public, on the company domain) and the signing authority confirmation. Apple reviews the details and emails you the next steps.
15. Program License Agreement. Read the Apple Developer Program License Agreement terms.
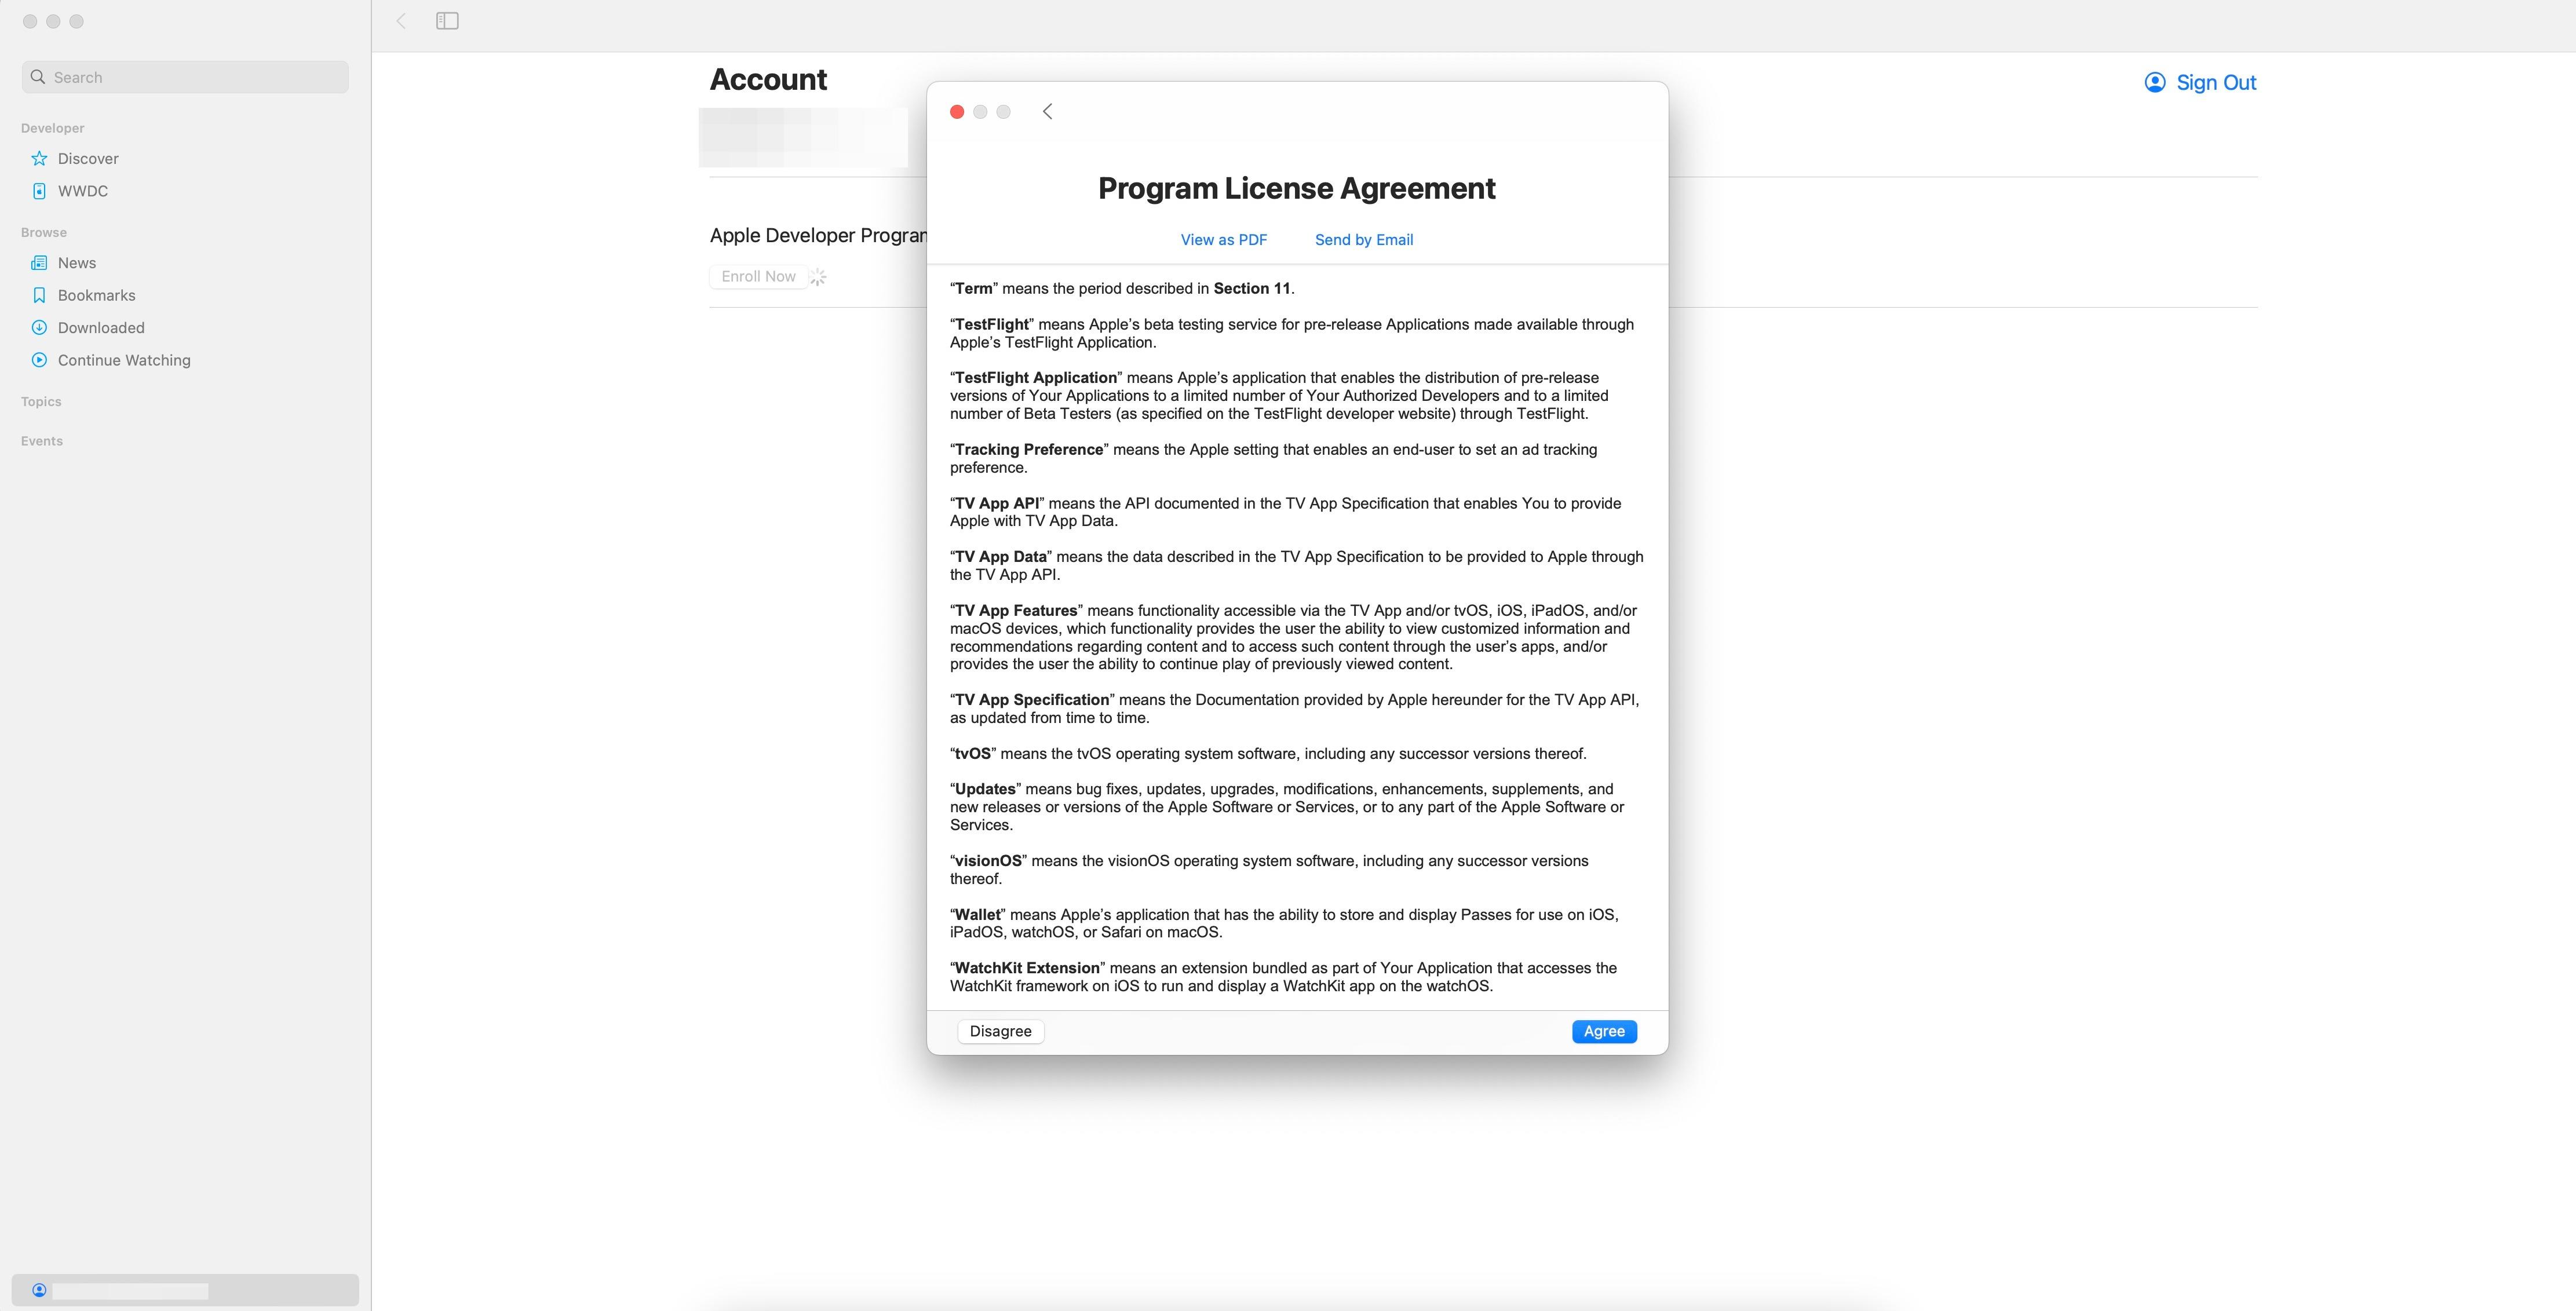
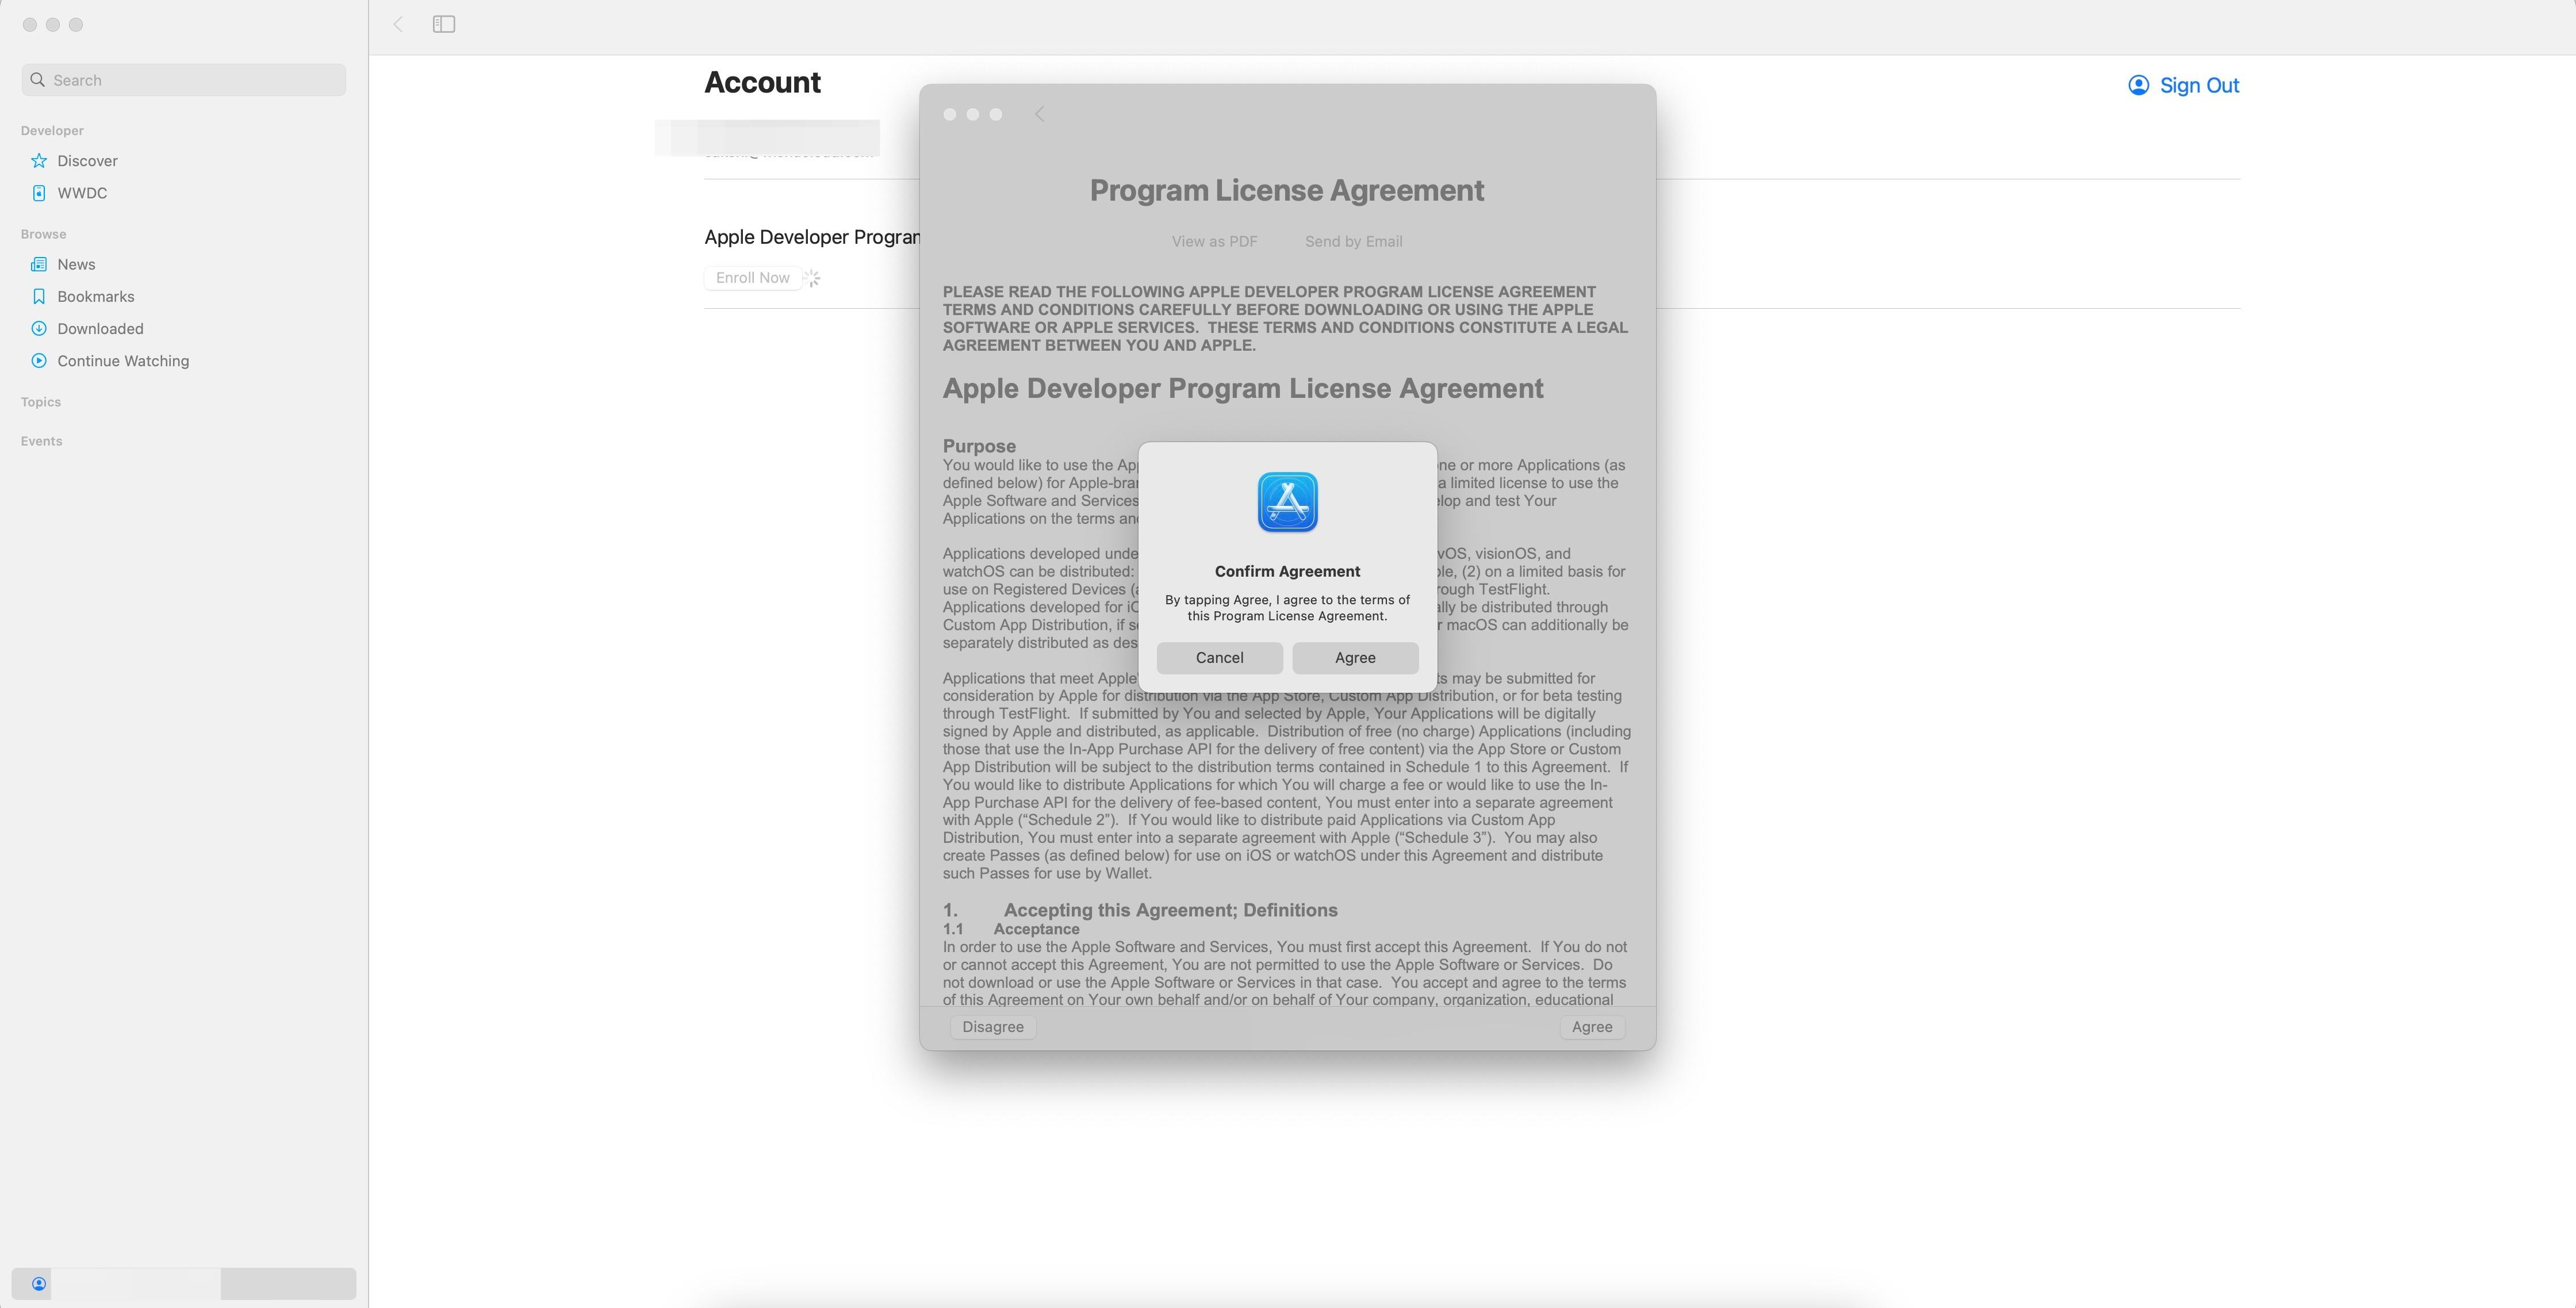
16. Confirm and pay. Tap Agree, then complete the membership payment (99 USD/year, an auto-renewable subscription). After approval you can enter App Store Connect.
Don't use an alias, nickname or the company name in the personal name fields, Apple requires your real legal name, otherwise approval is delayed. The company name goes separately, in the organisation details.
After approval comes identity verification (if required), accepting the agreements and filling in tax/banking details, see Apple App Store for the big picture. Keep your company details handy in My company details.