

GP - Opening Account
Below are the real steps to create a Google Play Console developer account. Registration starts at play.google.com/console/signup, with a Google account (ideally on the company email).
This is how the process looked at the start of 2026. The look of the screens may change, but the steps and the logic will be similar, use this guide as orientation, not literally.
Steps to create the account
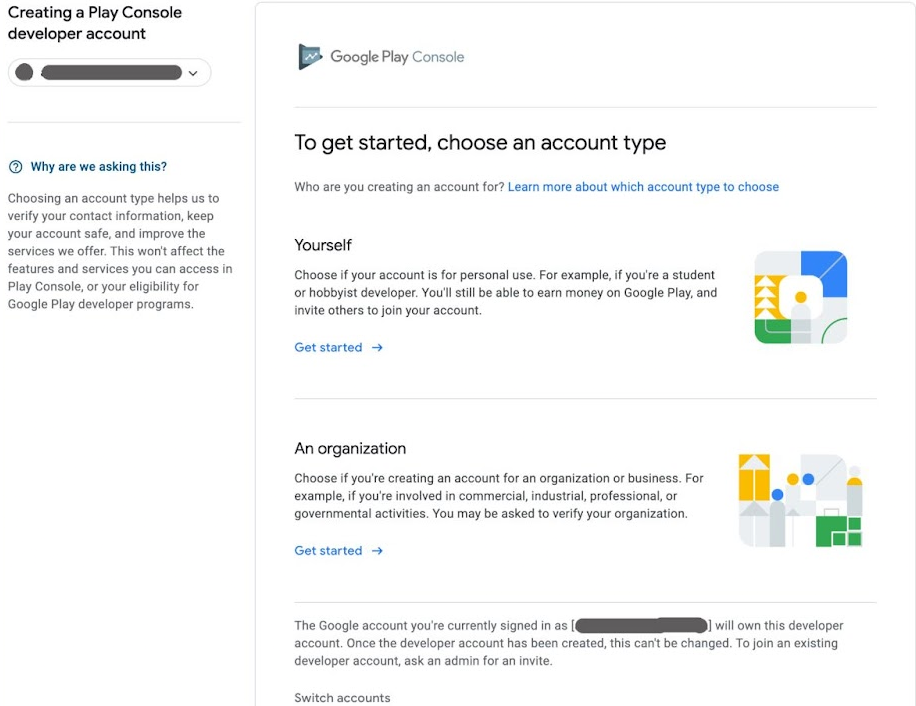
1. Choose the account type. In Play Console you choose between Yourself (personal/hobby use) and An organization (company/business).
For a company, choose An organization, Google may ask you to verify the organization (including D-U-N-S). Note: the Google account you're signed in with will own the developer account and can't be changed later, so use the company account from the start.
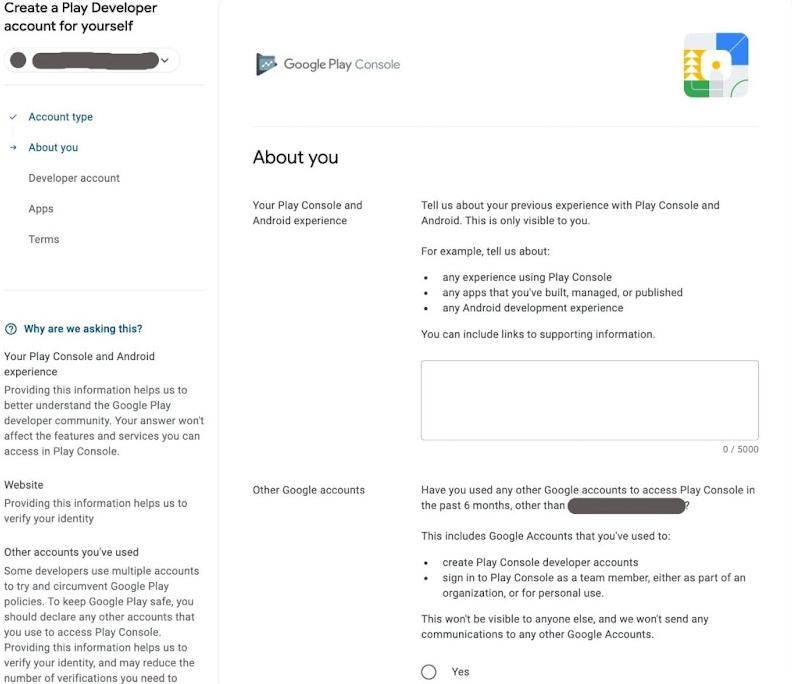
2. About you. You fill in your experience with Play Console and Android (visible only to you) and information that helps Google verify your identity.
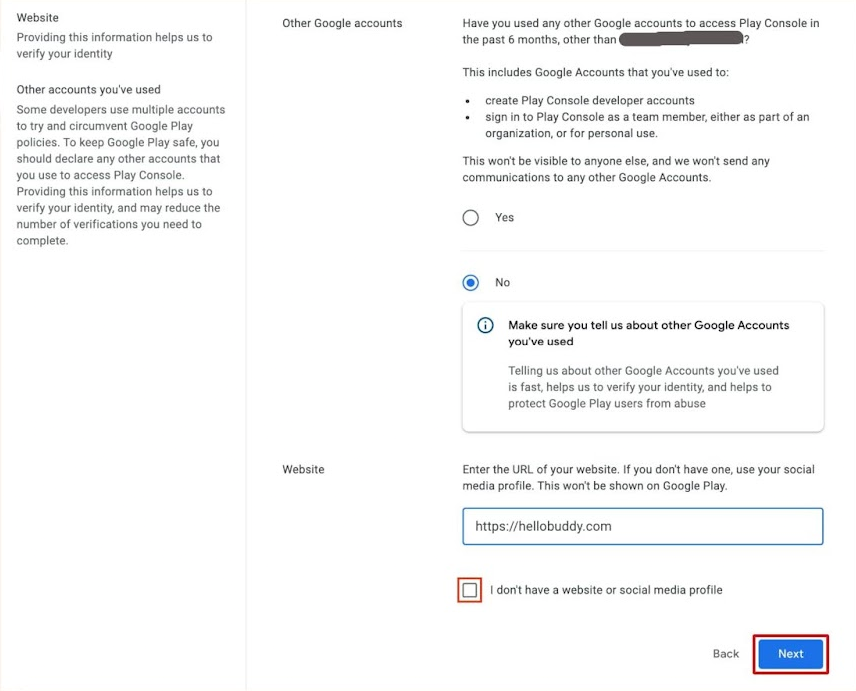
3. Other Google accounts and the website. You declare whether you've used other Google accounts for Play Console (Yes/No) and you enter your company's website URL.
The website here isn't decorative, it helps with identity verification. Put your company domain; you'll confirm it anyway during the verifications (see below).
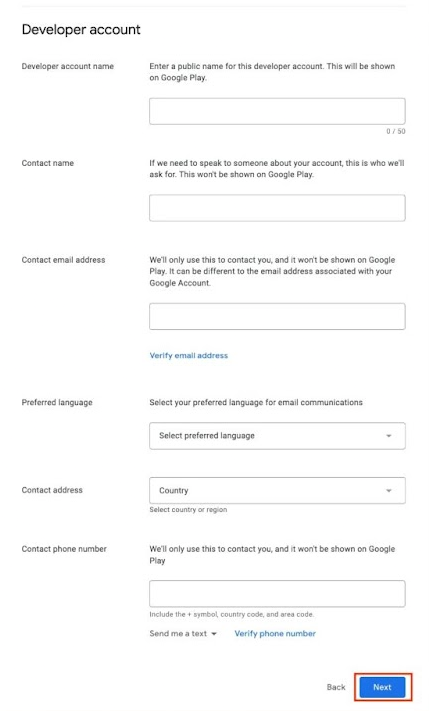
4. Developer account. You fill in the public account name (shown on Google Play), contact name, contact email (with Verify email address), preferred language, country and the contact phone number (with Verify phone number).
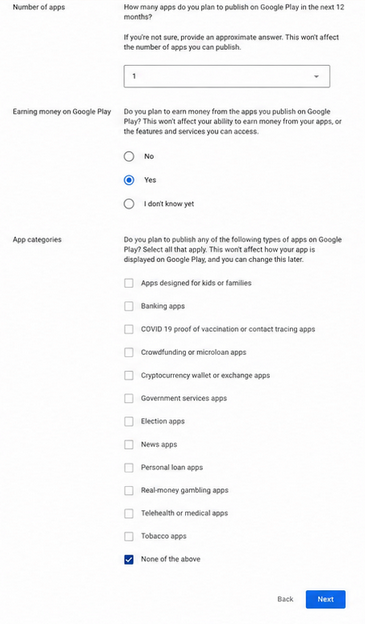
5. App details. You estimate how many apps you plan to publish in the next 12 months, whether you plan to earn money on Google Play, and you tick the app categories that fit you (you can change these later).
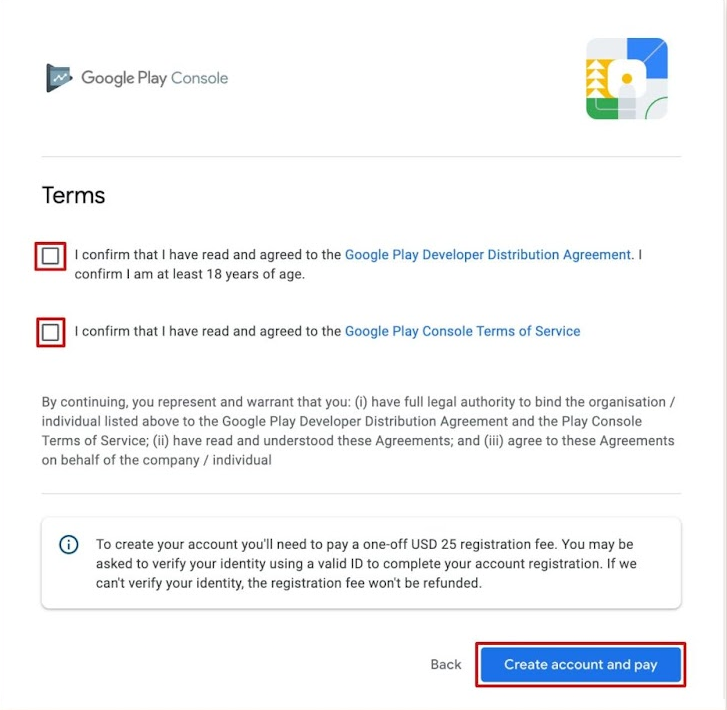
6. Terms and registration fee. You tick the Google Play Developer Distribution Agreement and the Play Console Terms of Service, then click Create account and pay. The fee is 25 USD, one-off.
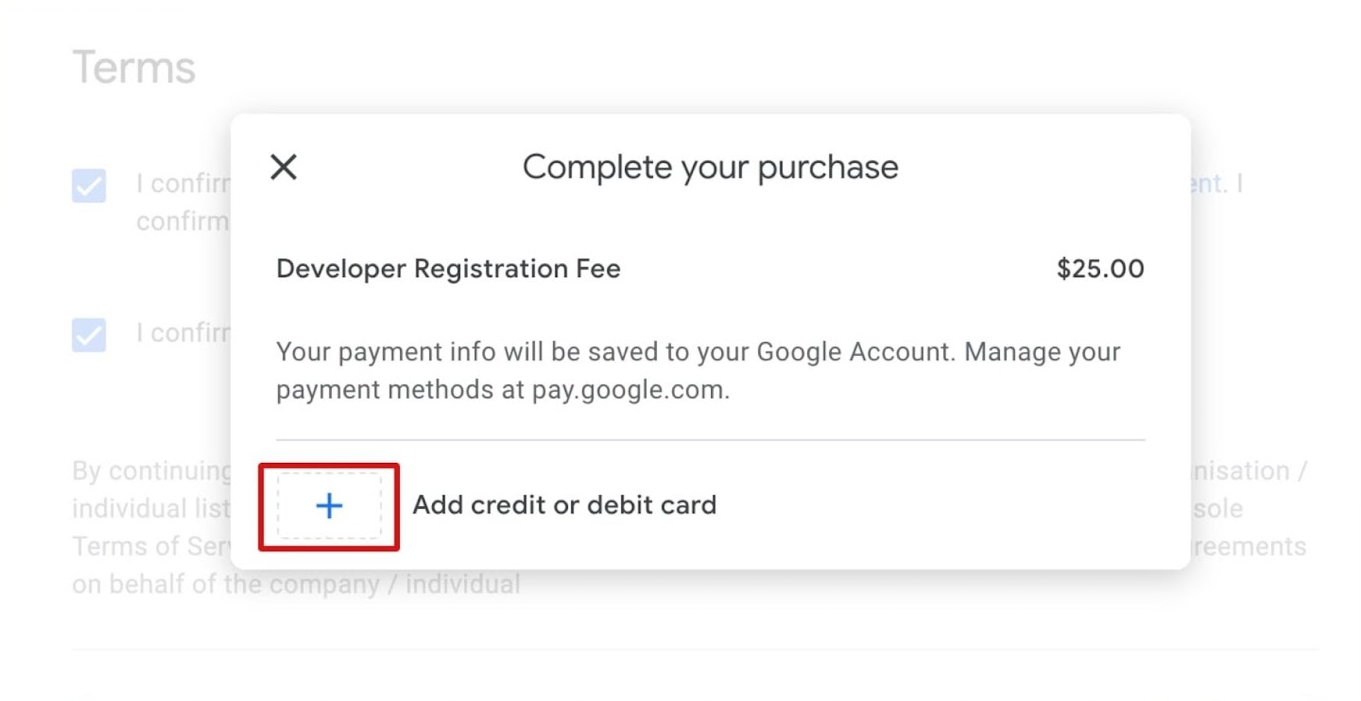
7. Payment. In the Complete your purchase window you add a card and pay the 25 USD (Developer Registration Fee).
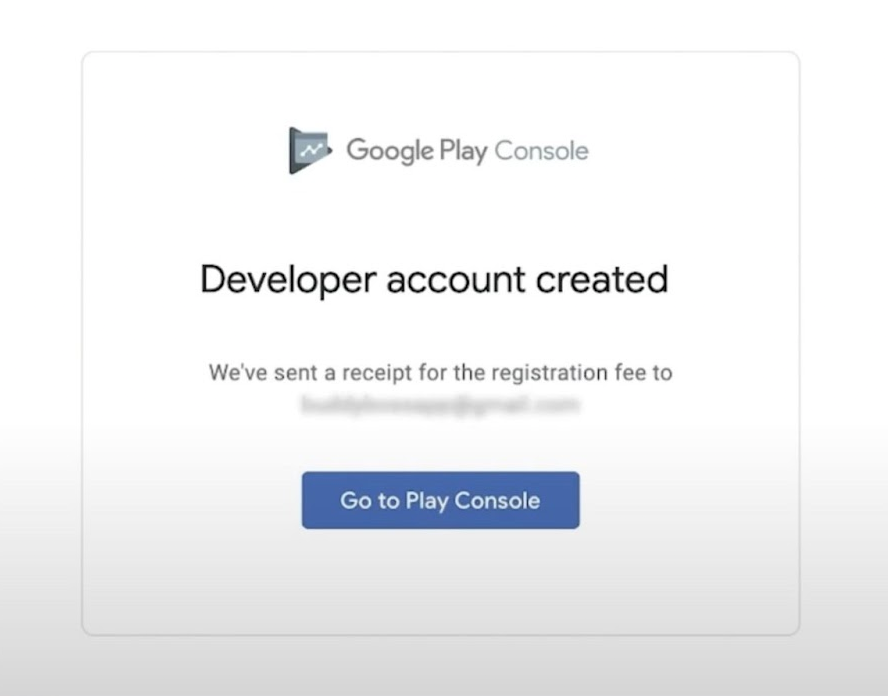
8. Account created. You see the Developer account created confirmation and enter Play Console.
The 3 verifications in Play Console (after creation)
The account is created, but Google won't let you publish right away. In Play Console, usually as banners, three verifications show up:
- Company details (CUI / tax ID). You fill in the legal name, address and the company's CUI (tax ID) (plus D-U-N-S for an organization). It must match the official data.
- Website verification. You confirm you own the company domain, the complete steps are in Google site verification.
- Phone number verification. You confirm a contact number via code, use the business phone number.
Only after you clear all three verifications can you publish games. You'll find them in Play Console under the account/identity sections; resolve them one by one.
For context, commissions and Data Safety, see Google Play. For the other platform, Apple App Store.